Showing posts with label Cricut. Show all posts

Monday, July 10, 2017

Cricut Bright Pad Review and GIVEAWAY!!!!!

It's the Cricut Bright Pad!

I am so excited to show you the new Cricut Bright Pad and Weeding Tool Set!  If you love vinyl, tracing, or just need some extra light beneath your projects, you're going to LOVE this!

It is the most sleek tool you'll have in your craftroom!


It will make weeding so much easier!

These new weeding tools are my new best friend!   I'm a lefty and they are PERFECT!

Thanks to Cricut, I'm giving away a Bright Pad and 2 sets of weeding tools!!   Watch the video and see how you could win one of these beauties!

Rafflecopter goes live at MIDNIGHT tonight (7/10/17)

Winners have been notified!  Mona Armstrong won the Bright Pad and Tool Set and 
Jill Provines won a Too Set!  Congrats to the winners and thank you for playing!!


Saturday, June 3, 2017

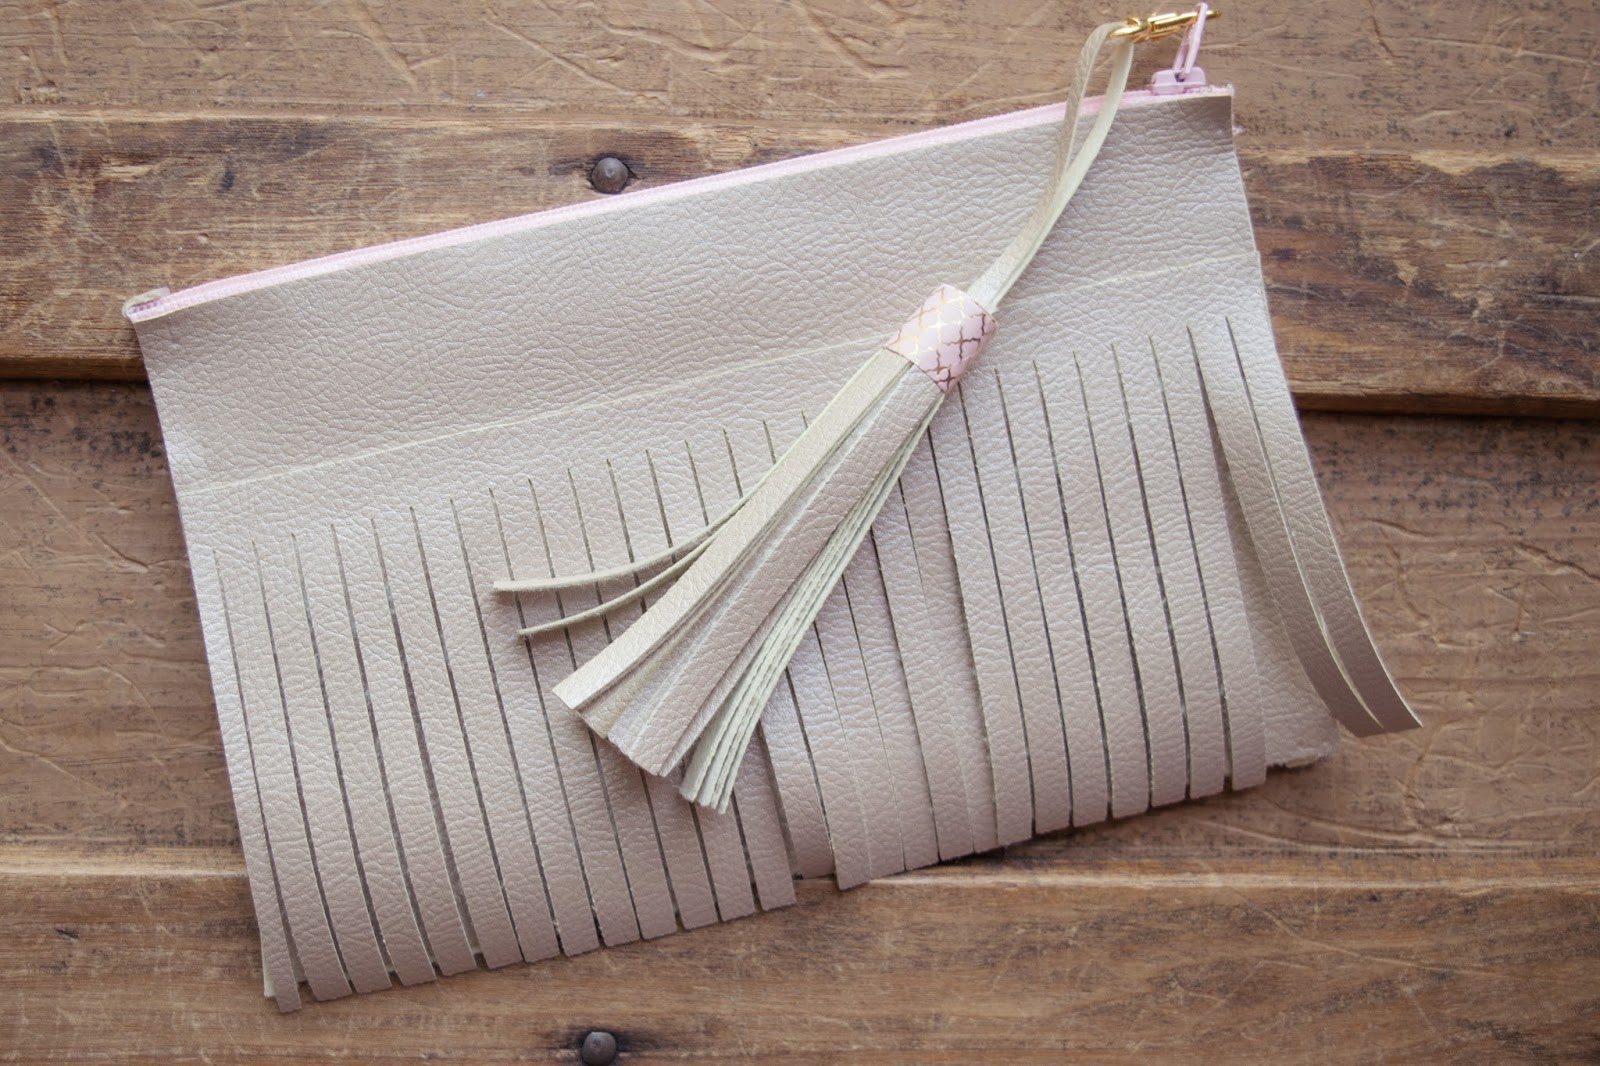
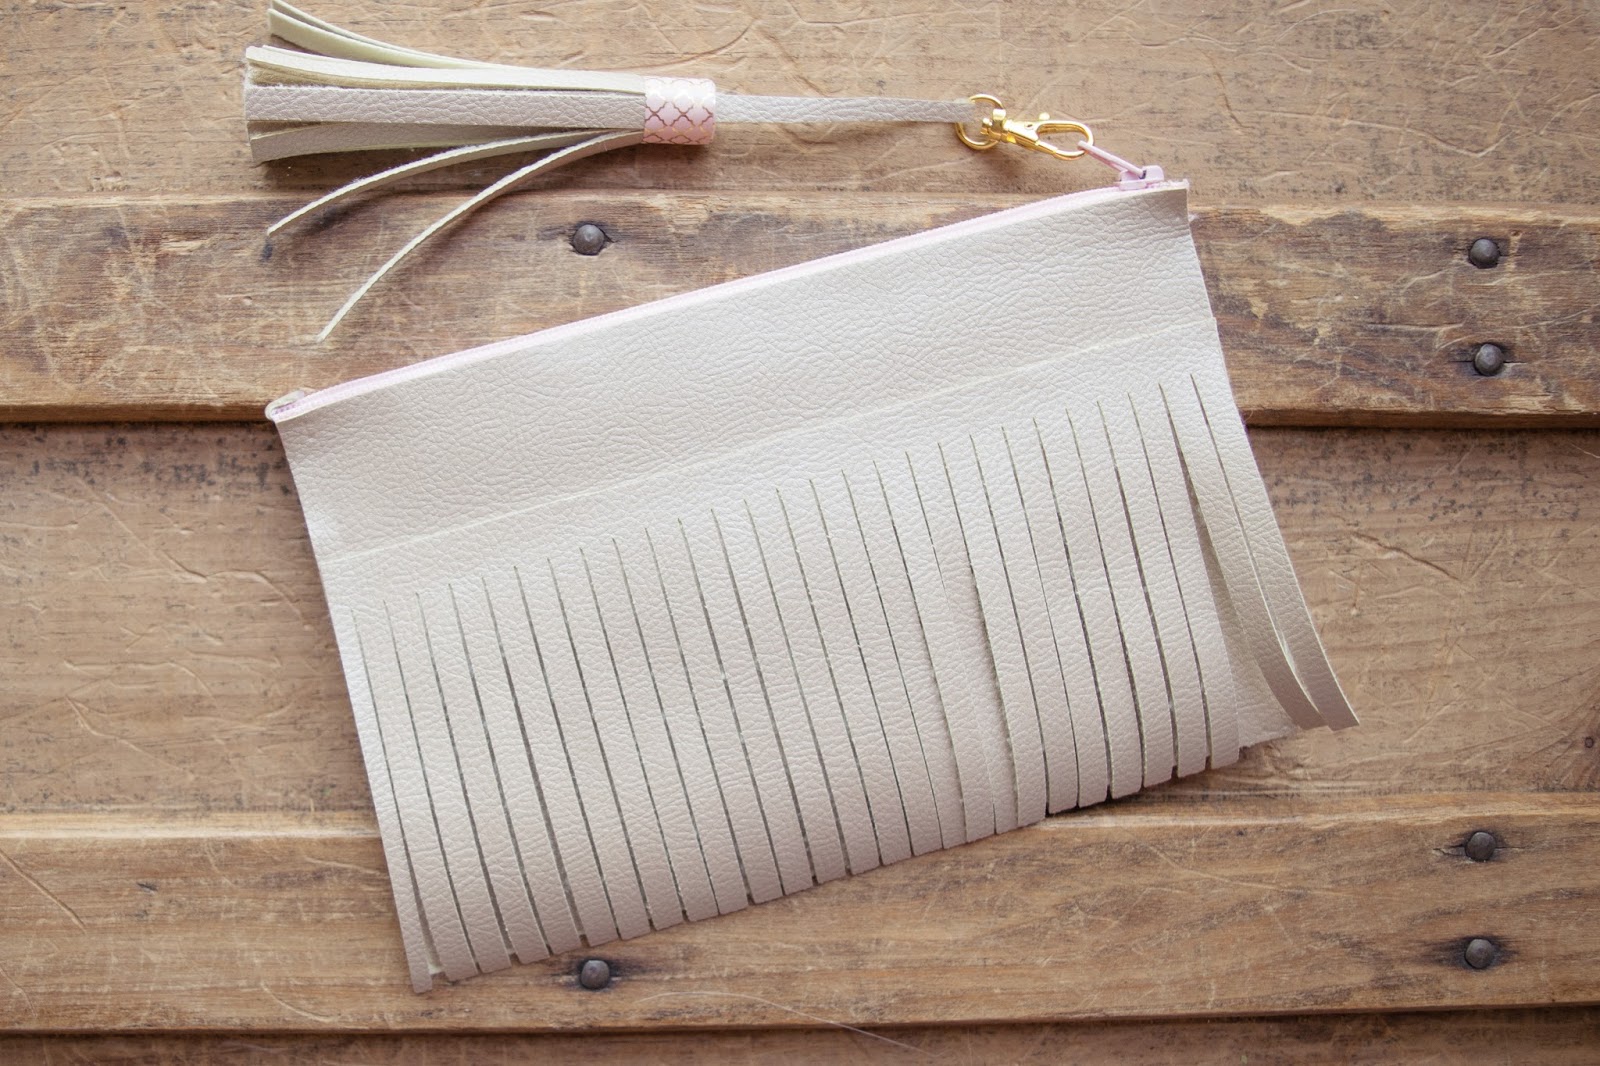
No Sew Fringed Zipper Pouch with Cricut Explore and Thermoweb Fabric Fuse! - Free SVG INCLUDED!

 I have a fun NO SEW project for you with the Cricut Explore!


 Create this fun fringed zipper pouch using your Cricut Explore and Cricut Faux leather!   It's super easy and no sewing machine required!    Check out my video tutorial to find out how!


Monday, May 29, 2017

Leather Tassels with the Cricut Explore (and a free SVG cut file!)


I've got another fun project for you!   Leather Tassels!  Oh my!   Can you see the possibilities here?  Planners, keychains, purse charms, zipper pulls?   They are oh so easy and super fun.  I used my Cricut Explore and Cricut Faux Leather and whipped these up in a few minutes.

Watch the step by step video tutorial here and get your free SVG cut file so that you can start making yours today!

Sunday, May 21, 2017

Zipper Pouch with Cricut Explore and Cricut Faux Leather


Well Hello there, gorgeous!

 I am so excited about today's tutorial!  How about a Zipper Make Up bag and Matching Coin Purse?
 Even better.... add a little Cricut Iron On!

 .... and, it's made from Cricut Faux Leather!    This couldn't be easier!  Don't let the zipper scare you!

Wouldn't these be great gifts?  I think I may make some stocking stuffers for the girls!  Or, how about pencil/pen cases for those of you planner girls?  The possibilities are endless!

Watch the full tutorial here!

Saturday, May 6, 2017

Mother's Day Card with the Cricut Explore

s


I cannot believe it's May already!  Mother's Day is next weekend, which means it's time to plant flowers here in the Midwest.


 That is what inspired me to make this card.  Mother's Day and Flowers... they just go together, don't you think?


I created this with the help of my Cricut Explore.   The beauty of this card is that by simply changing out the sentiment, it could easily become a Get Well Soon, Sympathy, Thinking of You or even a Happy Birthday Card.

Ready to make one?   Here's a video tutorial for you...


Sunday, March 19, 2017

Cutting Photos into Shapes with your Cricut Explore

Hello there!  I'm excited to say I've joined the world of Memory Dex-ers (it's a word!).   We've been swapping Memory Dex cards in our Swap Group.  I've got lots of them to share with you, but today's post is all about using your Cricut to cut a photo into a shape.


Like this cute Rolodex Shape.  I printed a photo of Ace and I and added it to my Memory Dex.  This can be super simple with the use of your Cricut Explore.

If you have the IOS app/IOS device it's so easy to cut anything into a shape using the fun Snap Mat feature!  Here's a quick video showing you how super duper fun it is!


Don't have an IOS device or the app?  No worries, I've got you covered!  You can use the Pattern option in Design Space and create the same photo filled shapes.  Here's a quick video for you!


There are lots of fun ways to utilize this technique!  Cricut always makes it easy!

Tuesday, February 14, 2017

A Floral Theme Loaded Envelope - Made it with my Cricut

Surprise!  Another Loaded Envelope!  This time the theme was FLORAL.  I am not really a "flower"-type of girl, but I thought I'd give this Shabby look a try.  This is the front.

And the backside.  I was mostly happy with how this turned out.  


 With all of the stash I have, can you believe I really didn't own any flowers?  Seriously!

 I had to go out and buy flowers just for this project.  I found some beautiful flowers at Hobby Lobby.

 You know, I love my pinks.  I only bought two small packages of flowers and then I just separated them.

 I love to add lots of textures and layers to my projects.  Some eyelash trim, rosettes, seam binding, pearls.  I loved how the half rosette turned out!  It wasn't planned, but as I was assembling it, I stopped half way through and thought... that's kinda cute!  I love it when things like that happen.


 Here are some photos of a few of the goodies inside.


Thanks so much for stopping by!  I have more loaded envelopes coming soon!

Wednesday, February 8, 2017

Tiffany's Loaded Envelope - Take 2

 I created another Tiffany's Loaded Envelope.  Since I had already made one with this theme (see this post), I wanted to do something totally different on this one.  I decided to go with Tiffany & Co theme rather than Breakfast at Tiffany's.
 I love making the backside look like a totally different project.

 I think it adds a nice surprise!


 The front of the Loaded Envelope, is just surreal and calming.  It makes me want to relax.
 It's so fun to add lots of textures, layers and different elements.

 I mean... does this not scream... girly?


I used my Cricut to cut the Tiffany & Co in silver glitter and then again in Vellum.  I love it!

Here's a video if you'd like to take a closer look

Monday, February 6, 2017

Soft and Sweet Loaded Envelope


I'm still on the Loaded Envelope Kick!  Not sure why these are calling my name, but I absolutely love creating them.   Above is a photo of the front.


and, here's a photo of the back.
 It's so fun to make handmade embellishments for the inside of the loaded envelopes

 This cheeky little shaker tag really made me smile!
 And, of course, you can't have an loaded envelope without a wand!   This is one side of the wand....

 ... and this is the opposite side.

 You know, I have to add a layered tag!  It just had to be done!

 An extra handmade tag and a little "make your own wand" kit.

 And how cute is this acetate pinwheel!  I cut that with the Cricut!


 Sigh.... I just love layers


And of course.. you know I had to do it... here's a video for you to take a closer look! :)


Sunday, February 5, 2017

Valentine Mini Loaded Envelope

It's Valentine's week!   Where in the world did January go?  I'm not a big Valentine Crafter, but I couldn't resist some of the Target Dollar Spot cuties.

 So, I thought, I'd make a fun Mini Loaded Envelope for my friend.  This was so much fun!  I simply created a 5 x 7 box envelope and then started to load it up!
 The teal, hot pink and light pink combo made me so happy!
 I handmade most of the embellishments that were inside.

 I used a combo of my stash and Target Dollar Spot goodies.


Here's a quick video so you can see each piece up close


view sourceprint? 01 09 10