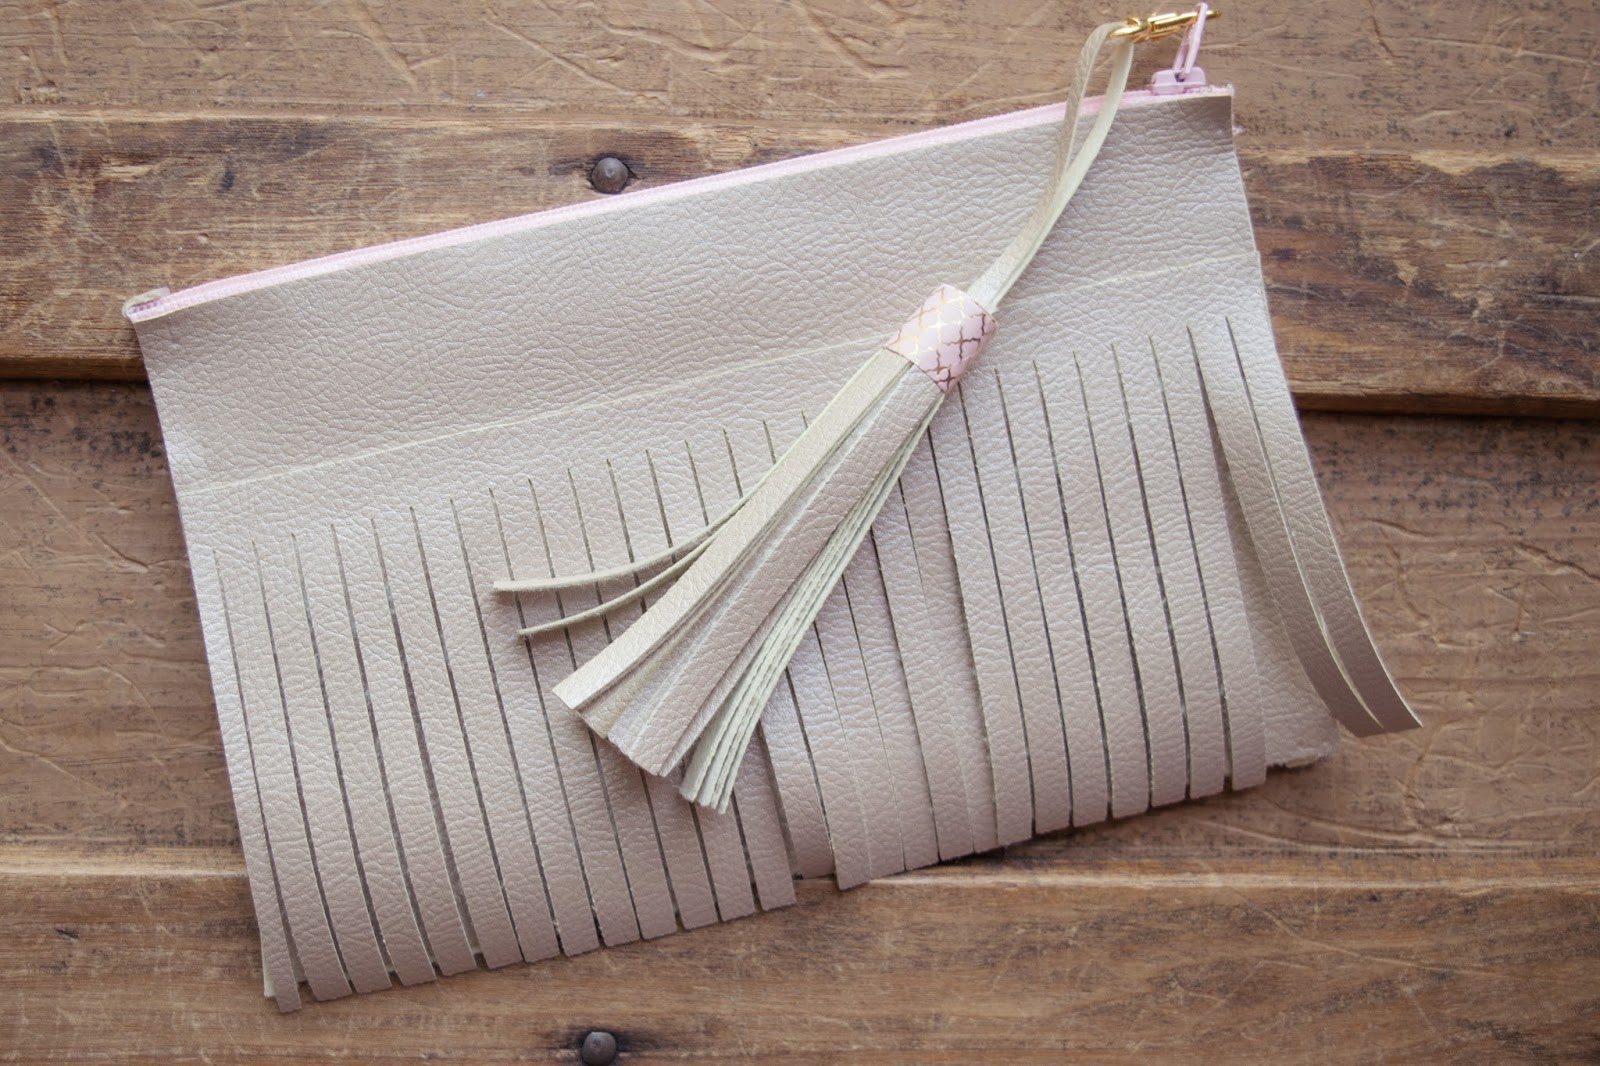
I have a fun NO SEW project for you with the Cricut Explore!
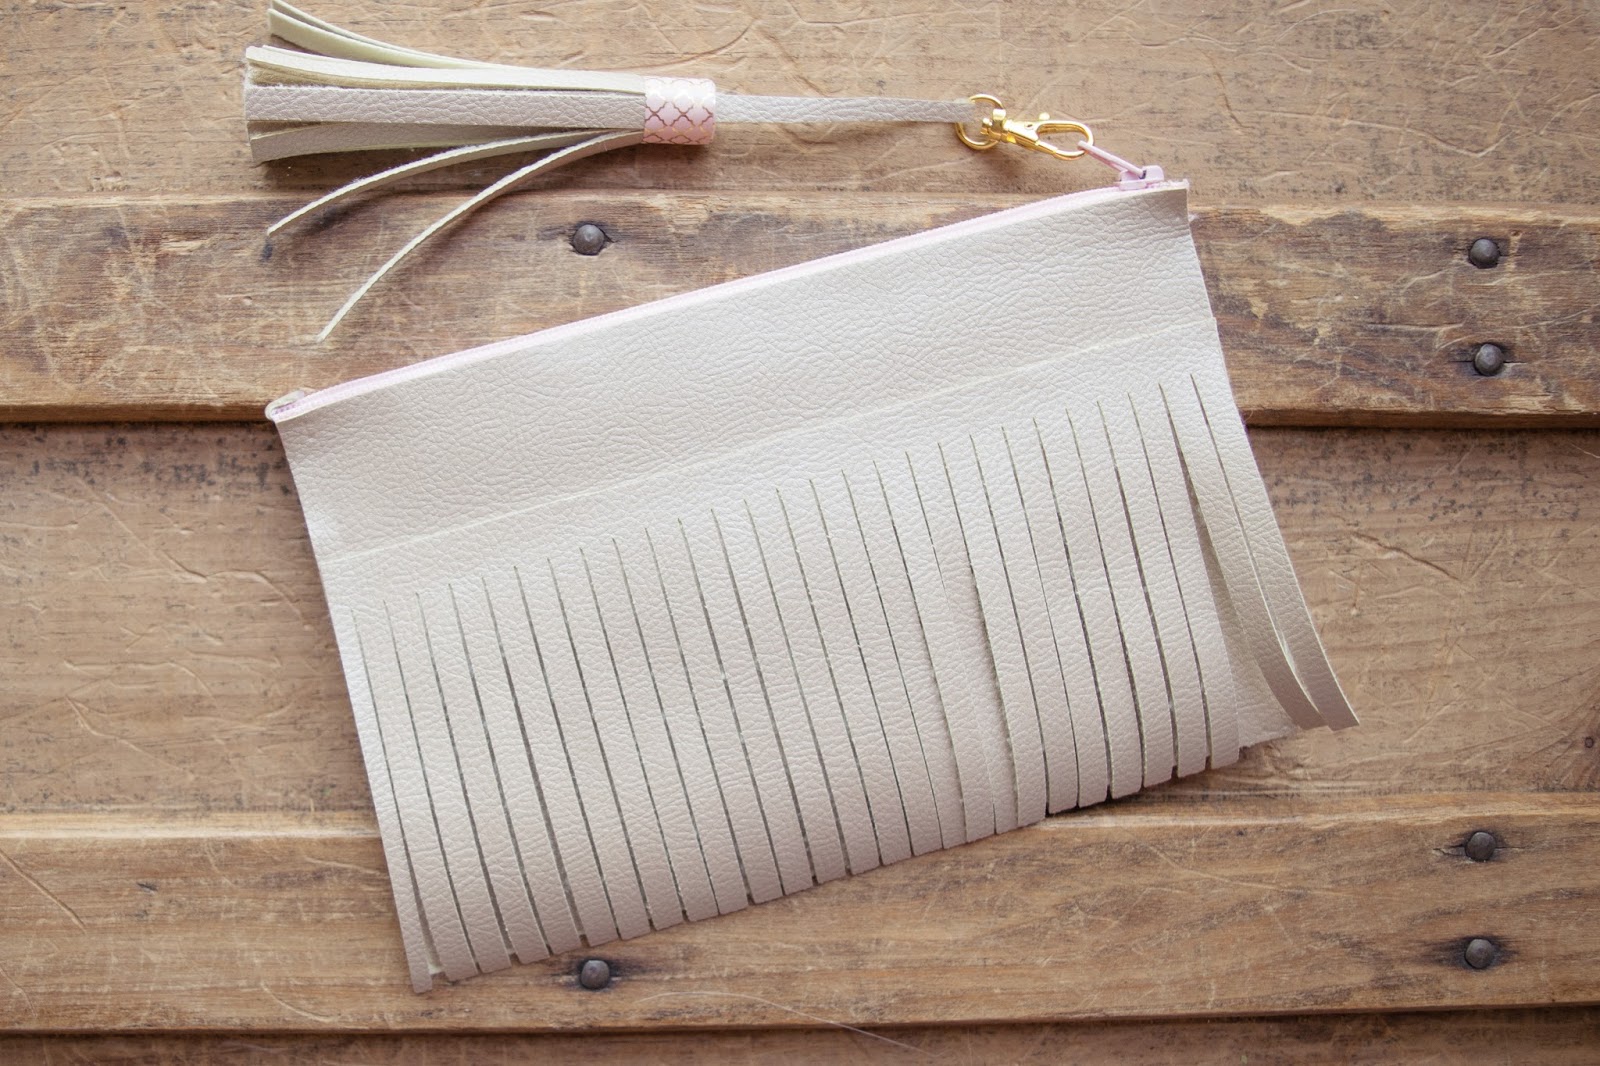
Create this fun fringed zipper pouch using your Cricut Explore and Cricut Faux leather! It's super easy and no sewing machine required! Check out my video tutorial to find out how!
.... and, it's made from Cricut Faux Leather! This couldn't be easier! Don't let the zipper scare you!
Wouldn't these be great gifts? I think I may make some stocking stuffers for the girls! Or, how about pencil/pen cases for those of you planner girls? The possibilities are endless!
I cannot believe it's May already! Mother's Day is next weekend, which means it's time to plant flowers here in the Midwest.
That is what inspired me to make this card. Mother's Day and Flowers... they just go together, don't you think?
I created this with the help of my Cricut Explore. The beauty of this card is that by simply changing out the sentiment, it could easily become a Get Well Soon, Sympathy, Thinking of You or even a Happy Birthday Card.
Ready to make one? Here's a video tutorial for you...
I have been working on my craftroom this week. The walls have been neglected. I wanted to make it a very inspiring area and I needed to add some girly, inspiring, pretty stuff on the walls. Cricut to the Rescue!
I grabbed a couple of canvases, some Cricut Vinyl (glitter, matte and foil) and started working on a couple of decor pieces to liven up my craft space. I made this Making Magic Happen using the Glitter Vinyl, and Black Vinyl by Cricut.
Next up was this fun canvas that says "Be Your Own Kind of Beautiful". I used the Cricut Vinyl in Pink and Black, and the Gold Foil Vinyl (swoon). This piece turned out so fun and I had the perfect spot to hang it.
I absolutely love how my wall art turned out. I plan to make several more in the near future.
Hello! Thanks for stopping by! I have been so busy making projects. Unfortunately, I've not taken time to post them here on the blog, so get ready for a catch up!
I have been making...
Tshirts... not just one
or two,
or five or six...
no, I've been a tshirt making machine!
It all started with my Cricut Explore and Cricut Iron on. Yep, every one of the shirts I've made used Cricut Iron On. It's so simple to use!
Oh... and I also got a heat press!!!
I love it! It doesn't live outside, I just put it there the day I got it, so I could "burn it off" as they say. If you get a new heat press, the first time you heat it up, it sort of gives off a smell. I thought it best to do it outside.
Today, I thought of a new idea. What if I used a stamped image and brought it into Cricut Design Space to clean it up, then add it to a shirt?!!?!? Pretty clever, eh?
See the bear? Look below and see where he came from?
The possibilities are endless! Here's a quick video to show you how to stamp an image and turn it into a iron on!
I have been playing with planners. I know... I am not a planner girl. I don't have many appointments, my kids are grown and living on their own, so why do I need a planner? Well, let me try to explain.
Every since I was a little girl, I have always had a paper/pen obsession. Office supplies have always made me giddy. Every January, I buy a planner and every 3rd or 4th week, or so, in January, I put it someplace and never touch it again. I've done it for years. This year, I decided to take the Heidi Swapp Capture 30 class, because, I have all of her planners from last year and two from this year and again, I haven't used them. Capture30 is really about capturing little glimpses of your daily life. Not appointment planning, or to do list, though you can totally incorporate that, too, if you like. It's about documenting your dreams, goals, hopes, memories, little things that make each day unique. On top of that, you document it into a cute Heidi Swapp planner.
Next up, I decided to take one of my 3 other 2016 planners and start using it in a similar, but playful way. No pressure to schedule things, no pressure to mess it up. I write with markers and pens and add pretty papers and just have fun with it. I'm using a Happy Planner for my "fun" planning/journaling. Turns out... I am a planner girl!
I created these fun Gold Foiled Stickers using my Cricut Explore and the Minc. I made a short tutorial, so you can make your own. Enjoy!
I created and designed this tribute to Paris with My Cricut Explore using HTV in both Matte and Glitter. I love how it turned out. I am happy to share my Design Space File, please use it for PERSONAL USE ONLY Please - Let's not profit from this terrible tragedy! Here is my Design Space file After posting my shirts I created in Design Space with my Cricut ExploreAir I had so many requests to make people Shirts... I decided to share the file so you can create your own instead 😀. Here you go: https://us.cricut.com/design/#/canvas/33318801
Hello everyone!
You already know by now I love my Cricut Explore. I know many of you have used or still use the Cricut Expression. I wanted totake a moment and put together what I feel are the Top 10 Reasons to make the upgrade. The Explore truly is a better machine. It truly cuts so much better. Watch this quick video and put it on your list for Santa!! You won't regret it!
Hello, and thanks for stopping by! Today I have an elegant Wedding Card for you. I made this card using the Cricut Explore One.
'Tis the season for weddings and wedding showers and boy, do I have a lot in the new two months.
I needed a card that could be used for several occasions.
I made two different versions of this particular card. On the card above, I used the Cricut Pen tool and wrote the sentiment. On the Card below I used a stamped image by Stampin' Up and gold embossed the sentiment.
This card base could be used for so many occasions simply by changing out the sentiment and embellishments. Swap out the cluster of elements and insert a cupcake and candle and you've got a birthday card. Take away the birds and add a Mother's Day greeting and you've got a Mother's Day Card.
Here is a video tutorial showing you how to make this card and assemble.
Products used:
Product Supply List:
Cricut Explore One http://us.cricut.com/home/learn/machines/explore-family
Cricut Explore Air http://www.shareasale.com/m-pr.cfm?merchantID=51766&userID=899113&productID=565692542
Circuit mini Heart Embossing Folder (I don’t think this is made any longer, here is another Cricut Heart Embossing Folder that is similar) http://www.shareasale.com/m-pr.cfm?merchantID=51766&userID=899113&productID=562246189
Link to my file in Design Space (I really hope you try and make it on your own, it’s the best way to learn the software) :) https://us.cricut.com/design/#/canvas/27459240
Many of you know I became a grandma (or Lolli) a month ago today. This is my sweet grandson, Ace.
I had so much fun creating this layout. It's been a long time since I've had new photos to scrap and this little man was just the inspiration I needed to get back into the craftroom and try something different. I cut the title out of watercolor paper using my Cricut Explore.
Here's a video of this layout. I encourage you to try the watercolor paper on the Cricut. LOVE IT!
Hello and thanks for stopping by! Today I have a fun project for you using Lori Whitlock birdhouse SVGs from Loriwhitlock.com (link to exact file below).
To make this birdhouse I simply slightly altered a birdhouse SVG file by slicing out a circle in the bottom of the birdhouse with the Cricut Explore. I then placed it over a battery operated tea light candle. Wouldn't these be cute with the entire set of 5 birdhouses (which come in the set) all light up together?!!
Here's a quick tutorial to walk you through how to make this on your own!
Hello and thanks for stopping by. Today I thought I'd share a quick tutorial to make this tri-fold label card with the Cricut Explore and Design Space.
Though I made a birthday card, you could easily adapt this style for most any occasion.
Here's a quick video tutorial with instructions to make this card
I haven't made an actual craft project in quite a while. I whipped up this quick card using the Cricut Explore and images from the subscription. It was super quick and lots of fun! Here is a tutorial if you'd like to give it a try!
I'm up on the Thermoweb Blog today. This week we are featuring homemade ornaments by both the paper and fabric design teams.
I chose these fun ornaments. They were cut using SVGCuts Christmas Ornament cut files and the Cricut Explore.
I used Thermoweb SuperTape to assemble this Christmas Tree and to give it some added shine I sprayed a coat of Thermoweb Gold Glitter Dust over the completed project.
The snowflake was assembled using a combination of Thermoweb SuperTape, 3D Zots and Mini Sticky Dot Runner.
We just got the green light to share with you the preview of the Beta Version of the Cricut Design Space Ipad App!
You are going to love, Love, LOVE this app! It is fast, intuitive and has so many fun features. Creating on the go is no more a wish! If you have your ipad and a wifi connection, you can design in the Design Space app no matter where you are.
I designed a card from start to finish using the app to give you an idea of the workflow process. You can watch it here!
This is the card I create in the video. It was after midnight when I took the photo. I promise to get a better photo in daylight, but I wanted to share.