
Tuesday, January 9, 2018
I’ve Moved!
Hey there blogger friends! I apologize for my lack of posts over here. A lot of fun endeavors and new opportunities have kept me pretty busy. The good news is, Ive created a new blog! Come follow me at LorrieNunemaker.com. I’ve already added a few new posts and tutorials for the new year !
Monday, July 10, 2017
Cricut Bright Pad Review and GIVEAWAY!!!!!
It's the Cricut Bright Pad!
I am so excited to show you the new Cricut Bright Pad and Weeding Tool Set! If you love vinyl, tracing, or just need some extra light beneath your projects, you're going to LOVE this!

It is the most sleek tool you'll have in your craftroom!

It will make weeding so much easier!

These new weeding tools are my new best friend! I'm a lefty and they are PERFECT!

Thanks to Cricut, I'm giving away a Bright Pad and 2 sets of weeding tools!! Watch the video and see how you could win one of these beauties!
Rafflecopter goes live at MIDNIGHT tonight (7/10/17)
Winners have been notified! Mona Armstrong won the Bright Pad and Tool Set and
Jill Provines won a Too Set! Congrats to the winners and thank you for playing!!
Saturday, June 3, 2017
No Sew Fringed Zipper Pouch with Cricut Explore and Thermoweb Fabric Fuse! - Free SVG INCLUDED!
Wednesday, May 31, 2017
BeYOUtiful Card with Thermoweb and Gina K Design Products - Fun Foiling Technique!

Hello! I'm super excited about today's project! I have been playing with my Thermoweb and Gina K Design products. I created this BeYOUtiful card using the Deco Foil, Deco Foil Transfer Gel and and the Gina K Foil Mates paper, Gina K Circle Dies. I LOVE LOVE LOVE how they turned out.

I made a second version using the same products:


For a step by step tutorial, watch the video here: Products used are linked in the video description as well as above.
Tuesday, May 30, 2017
2 Tone Foiling with Gina K Designs and Thermoweb


Watch the full tutorial below!
Monday, May 29, 2017
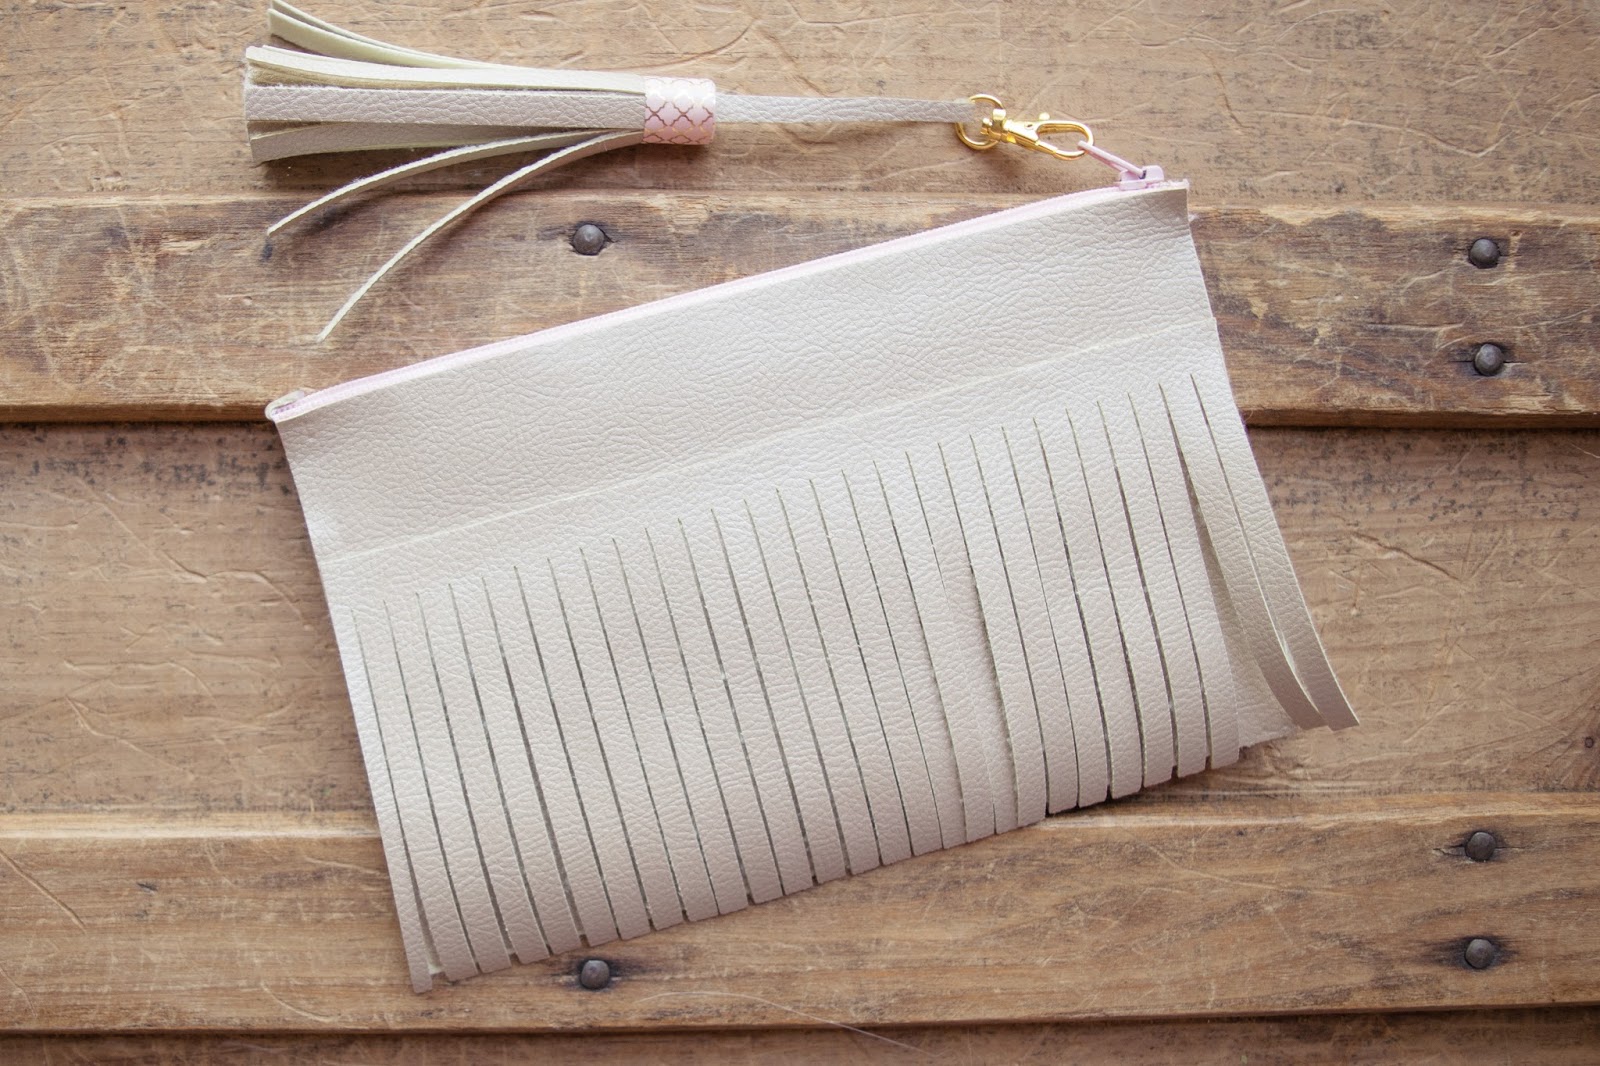
Leather Tassels with the Cricut Explore (and a free SVG cut file!)

I've got another fun project for you! Leather Tassels! Oh my! Can you see the possibilities here? Planners, keychains, purse charms, zipper pulls? They are oh so easy and super fun. I used my Cricut Explore and Cricut Faux Leather and whipped these up in a few minutes.
Sunday, May 21, 2017
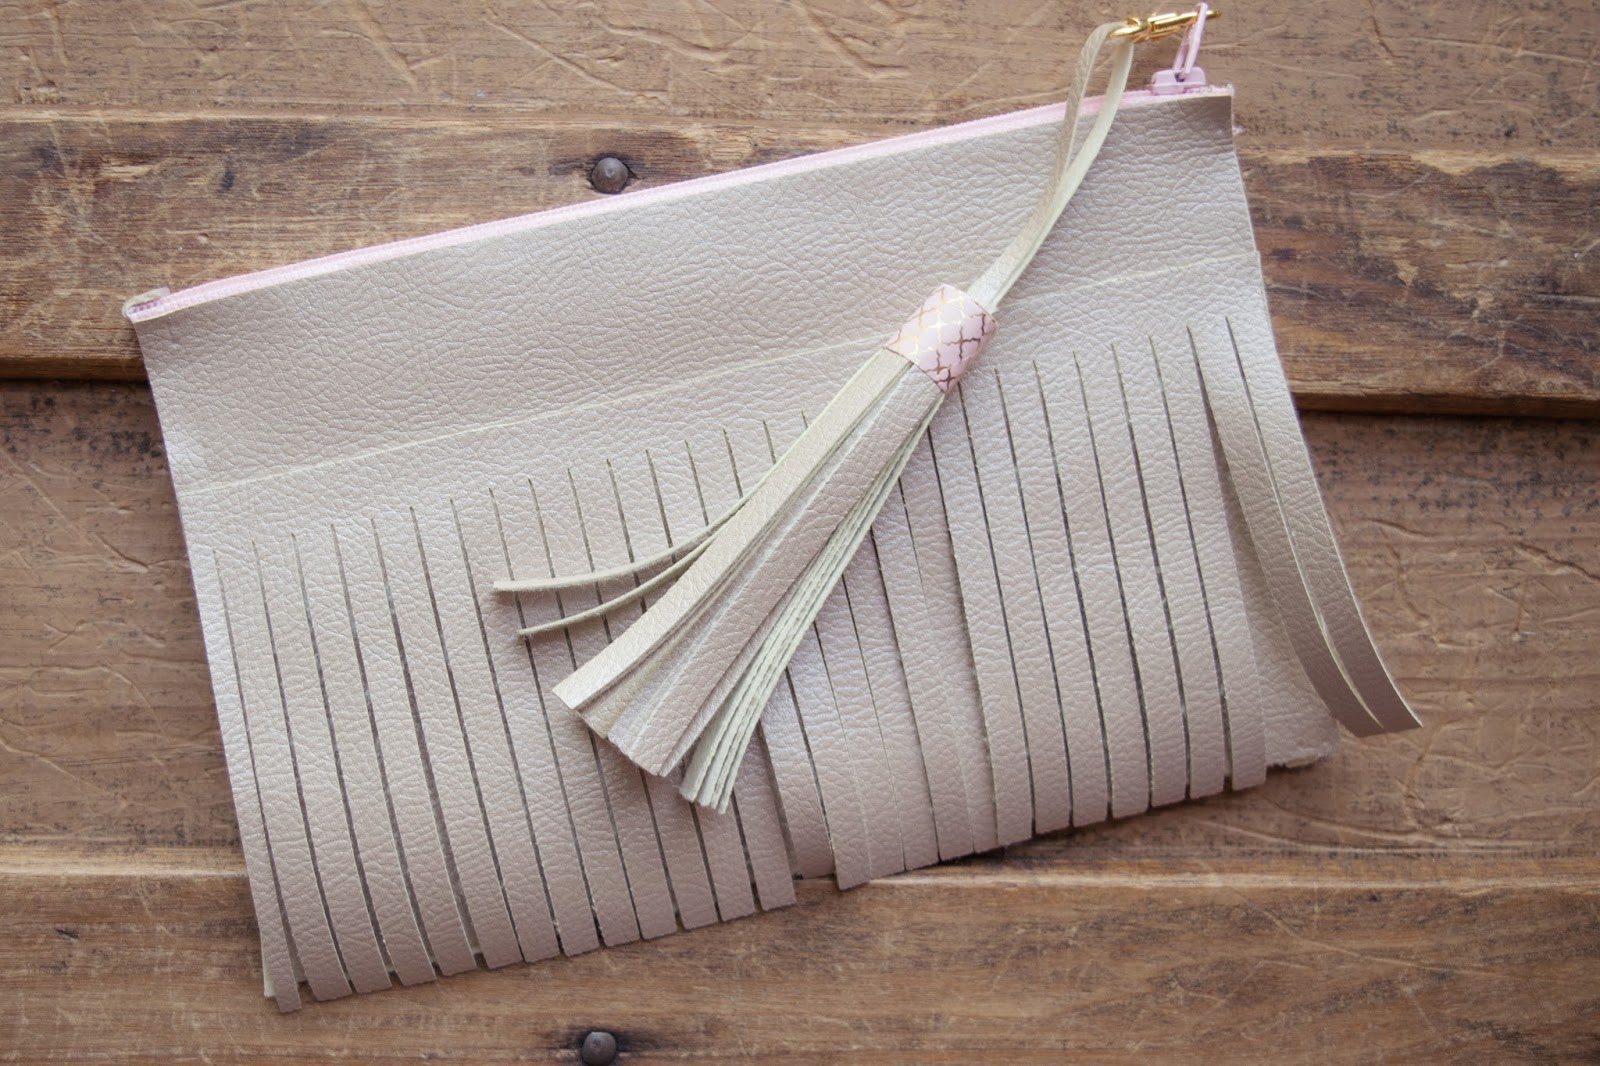
Zipper Pouch with Cricut Explore and Cricut Faux Leather

Well Hello there, gorgeous!


Wouldn't these be great gifts? I think I may make some stocking stuffers for the girls! Or, how about pencil/pen cases for those of you planner girls? The possibilities are endless!
Saturday, May 6, 2017
Mother's Day Card with the Cricut Explore
s

I cannot believe it's May already! Mother's Day is next weekend, which means it's time to plant flowers here in the Midwest.


Ready to make one? Here's a video tutorial for you...
Sunday, April 23, 2017
Fun Foiling and Die Cutting with new products by Thermoweb & Gina K Designs!


These are a result of a fun new product line by Thermoweb and Gina K Designs.
You can find out how I constructed these, what products I used and all about the new line of products by Gina K Designs/Thermoweb by watching the video at the bottom of this post.
Until Next time.... "Be Happy"

Watch the complete tutorial and informational video here:
Friday, April 21, 2017
Memory Dex Cards - I've gone off the deep end!

This is one of my favorite sayings. She believed she could... so she did.

and then she did it again.........

and again.......

Warning... this blog post is PICTURE HEAVY!


 |
| Well Hello there! |


Hello, beautiful!

Sometimes, you're just feeling blessed!

or maybe you want to celebrate "friends"


I've got lots more to share, but I think I'll save a few for later. I wouldn't want you to think I've completely lost it! :)
If you'd like to join in the fun, here are some fun products to get you started:
Create fun Rolodex/Memory Dex Cards with the Cricut
Memory Dex Roller File: http://amzn.to/2m9Pw4Z
Memory Dex Punch: http://amzn.to/2m9Pw4Z
Memory Dex Dies: http://amzn.to/2m9Pw4Z
Memory Dex Inserts: http://amzn.to/2m9Pw4Z
Subscribe to:
Posts (Atom)