Wednesday, April 30, 2014

Little Princess Line from Imaginisce

Introducing the Little Princess line by Imaginisce!  I've had this product for awhile now, but couldn't use it until they had the official product reveal at Imaginisce.  Tadaaaaa!  Here it is!  This is just the cutest collection, especially if you have a sweet little princess in your life.

I created a birthday card with the fun cupcake stamp.  You can't tell by the photo too well, but the Happy Birthday is a white sparkly cardstock and the cupcake has the same sparkle on it.

You are going to love this collection!

Products Used:

Imaginisce:  Little Princess (Gems, 6 x 6 paper pad, cupcake stamp)
American Crafts:  Twine
Silhouette Die Cut Machine (A2 Card base Die cut by Lori Whitlock)

Tuesday, April 22, 2014

Repurpose Theme Week at Imaginisce

I'm up on the Imaginisce blog today.  We are featuring ways to use themed collections in Everyday projects.

I chose the "perfect vacation" collection for this watering can/card set


Hop on over to the Imaginisce blog this week for more inspiration on how to get more mileage out of your collections

Products Used:

Imaginisce:  Perfect Vacation (Patterned Papers, Rhinestones), My Baby (Girl- Button)
American Crafts:  Cardstock
Die Cuts:  Silhouette & Punches

Friday, April 18, 2014

Graduation Card Gown Tutorial

Hello everyone.  Yesterday I showed you this fun Graduation Card and a How to Video featuring Lori Whitlock's A2 Step Card.  I had a lot of questions come back asking me how to make the graduation gown featured on the left panel of this card.  I've made a video for you and I've provided a free studio download for the left panel portion of this card, as well as a PDF for those of you who may not have a digital cutter.  The gown looks super cute on the front of a standard A2 size card, too.
The base card  (shown above) is available at LoriWhitlock.com or in the Silhouette shop.

Here's a how to video:


Free Studio File can be downloaded here

Free PDF File can be downloaded here

Thursday, April 17, 2014

Step Cards Anyone??

Hi there!  I'm so excited to show you these fun Step Cards created using Lori Whitock's Step Cards from her SVG Shop and the Silhouette Shop.  The step cards really pack a wow factor and no one will ever know how easily they go together. 
Here's a photo of the front.  Most of the "wow" is packed on the inside
 

There are so many possibilities with these card bases.

 It's graduation season and this simple graduation card with quick and easy and can also be used as a table decoration at the grad party.

I made this one for a friend.  We enlarged it as big as we could to fit it on a 12 x 12 mat.  The final card was about 11" tall.  She's going to use it for a table decoration at her daugthers grad party to represent the college she's going to on a volleyball scholarship.

Make sure and check out all the step cards.  There are several different ones to choose from.

Here's a quick how to video for the birthday card above


Tuesday, April 15, 2014

Easter Treats Week with Epiphany Crafts

Hello again!  It's Easter Treats week at Epiphany Crafts.  I've come up with 3 different ways to utilize your Epiphany Crafts tools with Easter Treats and also a free download.  Check out the Epiphany Crafts blog for instructions to make these cute sour cream containers.

Here's a free Happy Easter greeting which can be printed out on a 4 x 6 and fits perfectly with the Epiphany Crafts Shape Studio Round 25 tool and accessories.

http://www.4shared.com/download/eUQkNItJce/HappyEaster.pdf?lgfp=3000

Monday, April 14, 2014

Blop Hop with Lori Whitlock Design Team

Hello!  I hope you're enjoying the blog hop and all the inspiration along the way.  I, for one, can never wait to see what everyone comes up with.  Always a lot of fun!

Make sure you enter to win below and pick up your coupons for http://loriwhitlock.com


Easter is right around the corner and what better way to prepare than to make a big Easter Bunny with plenty of room for Easter treats.

.

I added a bow and a button because every pretty girl needs a little bling.  The eyes are googly eyes and the whiskers are made of twine.  I embossed the ears and the pink on the feet just to add a little more interest.
 
 Want to make one?  Grab your 30% off coupon below and this is what you'll need from Lori Whitlock's store:

I used Lori Whitlock's 1 Drawer Box, and the Bunny Box.  I used 12 of the 1 drawer boxes and just the ears and nose from the bunny box.


Now, for the goodies!

Lori has generously provided a chance to win a $25 gift certificate to anything in her store!  Enter here to win!

a Rafflecopter giveaway

Now it's time to hop over to Natalie's blog!

Here's the entire blog hop list.  Make sure and stop by each one for even more chances to win!


Thursday, April 10, 2014

No Sew Wristlet Keychains

 Today on the Epiphany Crafts Blog, my "No Sew Wristlet Keychains" are featured.
 These are super simple to make, and are awesome gifts, stocking stuffers, etc.

Here's a quick video to show you everything you need and how to make these fun wristlets!


Monday, April 7, 2014

It's a matching Easter Gift Set with Lori Whitlock SVG files and the SIlhouette!


Hello there!  I have some exciting news!!  I've joined the paper team with Lori Whitlock!  Yes, the banner above still says Digital... new banner coming soon! ;).

For my first project I wanted to make this super fun Easter Basket/Card set.

It's super easy using the SVG files from Lori Whitlock and the Silhouette.  I used the Recollections "the Create Collection" paper stack for the embellishments.

This matching card is also an SVG file by Lori Whitlock as well!

Check out Lori Whitlock's Blog to get all the details and file names to create this gift set.

Friday, April 4, 2014

Elle's Studio week at ThermoWeb

Hello there!  It's Elle's Studio week over at Thermoweb.  I had the awesome change to play with Elle's Studio Love You More Collection.   I love everything about this collection.  It's soft muted colors are just my style.
 Stop by the Thermoweb Blog to get more details on this layout.  Don't forget to check out the adhesive collection while you're there.  Seriously, you can't beat the glue dots and foam adhesives, they are my go to!

 I also made this fun card from the same papers and embellishments.  I added a bit of glossy accents on the heart and some bakers twine to add a little something extra.


Thanks for stopping by!

Wednesday, April 2, 2014

Studio Calico March Card Kit

I actually went upstairs to my craftroom to put away some recent purchases with no intention of making a card, but my Studio Calico card kit from March was still on my desk as well as the kraft card base (a leftover from the other day).  I spent about 15 minutes throwing this card together and I kinda like it.  It's super simple, super quick and that's ok. 

Sunday, March 30, 2014

Two Toned Glitter Butterfly with Stencils and Icraft Adhesive Sheets


 Hello there!  I created this two toned glitter butterfly using Heidi Swapp's new 3 part stencils (available at Michaels) and Thermoweb Icraft Adhesive Sheets.
 It's super simple and really has a wow factor when you see it in person. 
You can see more on the Thermoweb blog including this video tutorial:


Hello Today Collection by Heidi Swapp now at Michaels!

 Hello there! 
I was happy to find that my Michaels FINALLY go the new part of the Hello Today collection by Heidi Swapp, and even better... it was 50% off!  What girl doesn't love a sale?

I whipped up this card/envelope shortly after I got home with all of my goodies.  This color scheme is out of my comfort zone, but I really love it and enjoyed playing with the navy/kraft combo.  Why don't I ever think of mixing those.  I wear navy and kacki a lot,  I just never think about it in my crafts.
I used a die cut (from my Silhouette) for the hello.  I stamped the die cut with Versa Mark, then stamped it with Heidi's Navy inkpad, with a final coat of clear embossing powder.  I love that the color is a perfect match to the pattern papers.

Just a little note, the new Heidi Swapp products aren't out in the middle aisle at Michaels.  They are right in the sticker aisle and there should be a whole Heidi Swapp shrine right in the middle of all the other stickers.  I swear I heard angels singing when I spotted it. 

Thanks for stopping by.... as Heidi always says, it's time to "Make Pretty Stuff".

Saturday, March 29, 2014

Studio Calico March Kit

I decided to try the Studio Calico monthly card kits.  I received my very first one, which was the March kit.  I love that it has products that I probably normally wouldn't buy, but absolutely love!  Everything on the card above was included in the kit with the exception of the red shipping tag, twine and butterflies.

Hello... Spring??

Hi there!  Can you believe it's March 29th, and it's SNOWING here?!!?  Boy, oh boy, is this winter ever going to end? 

The Imaginisce Welcome Spring collection gives me hope that eventually we will have flowers and butterflies and sunshine!  I love the happy vibe of this collection.

Products used:

Imaginisce:   Welcome Spring (Pattern Papers, Die Cuts)

Silhouette Die cut "Hello"

Stampin up Button

American Crafts:  Tape Runner, Twine, Cardstock

Friday, March 28, 2014

Lori Whitlock - Mod Multicolor Papers

Lori Whitlock has the coolest collection of Digital Papers called "Mod".  They come in all different color packs, but this latest is my FAVORITE!  It's the Multicolored collection.  Stop by Lori's blog today and take look at all the inspiration using this fabulous collection!  I also used the Mod Kraft collection for the base on this layout.

Tuesday, March 25, 2014

Epiphany Crafts - OVAL week

Hello!  It's Oval Card week at Epiphany Crafts and we are featuring the Oval Shape Studio Tool on Cards.


I decided for my cards to celebrate Easter and the hope of a beautiful Spring.
Oval
Hop on over to Epiphany Crafts Blog to find out how to make these little cuties!!
Cards-Oval

Sunday, March 16, 2014

Today I played.

 Today was the first time in a long time, that I just created.  No assignments, no objective, no particular project in mind.  I just opened up some papers, embellishments, ribbon and glitter and I just played.
Sometimes, I think we forget to just create.  No worries about right or wrong.  No idea which direction we are going, just sit down and see what happens.

Today, I played.


Tuesday, March 11, 2014

Thermoweb meets Maya Road

Hello there again! It's Lorrie here with another project.  This week we are lucky enough to get to join together with Maya Road.  I chose to use this adorable House Shadowbox.
Maya1

Check out the Thermoweb Blog for detailed instructions and the products used on this project. 
 
 
Look at how that Glitter Dust makes it all sparkle.  I just LOVE to finish off my projects with it.
 
 
Thanks for looking and be sure and order yourself some Glitter Dust.  I promise you, you will LOVE it!!!

Button Week at Epiphany Crafts

It's Button Week at Epiphany Crafts and I couldn't be happier!  I love the Button Tools!

It's so easy to just add a perfectly matched button to almost any project!  This is a "Must" on your wishlist!  I've used the Shape Studio Round 20 Button Tool (Larger one), and the Shape Studio Round 14 Button Tool (Smaller one).

Be sure and check out the Epiphany Crafts blog for all the button inspiration this week!!

Thanks for stopping by!!!

Monday, March 10, 2014

Blog Hop Monday with Lori Whitlock and her Design Team


Hello and welcome to another Lori Whitlock Blog Hop.  I've got the entire blog hop list at the end of this post in case you landed here by accident or got lost along the way.

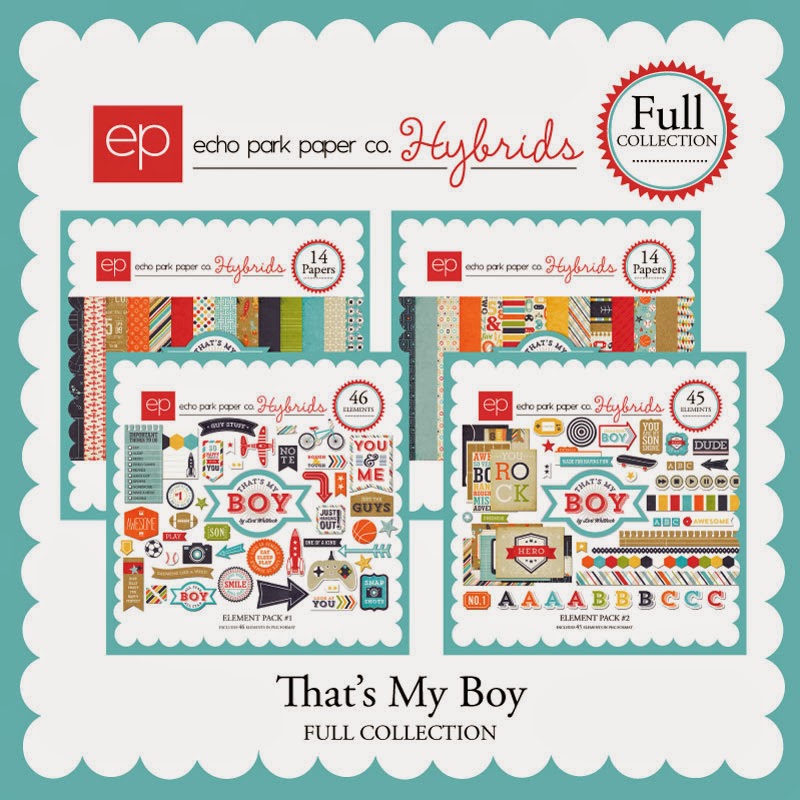
I decided I wanted to make a clock for my soon to arrive grandson's room.  Lori's "That's my Boy" collection was just perfect for such a project.


To make this clock I simply bought a cheap clock at Walmart ($4.99), removed the screws in the back and disassembled the clock by removing the plexiglass off the front and carefully lifting the hands of the clock straight up.  Using photoshop I made designed the patterned background.  I then used my Silhouette to cut the image, because let's me honest, I stink at cutting straight lines, let alone circles!  You could easily cut it out with scissors.
http://www.jessicasprague.com/index.php?page=shop.product_details&flypage=flypage.pbv.tabs.tpl&product_id=4302&category_id=78&option=com_virtuemart&Itemid=328
This collection has everything you need for all of those boy projects!
Now, lets get on to some more fun stuff.  Lori has generously offered a freebie for me to give you.  Yes, you heard me.... FREE!  It's only good for today and there is one at each blog stop, so make sure you collect them all!  After today, they will be available in Lori's online shop at JessicaSprague.com
https://www.dropbox.com/s/yr54v8rg8vm915k/LW-Photo-Prompt-Tags-place.png

Click on the image above to get your "Favorite Place" tag TODAY ONLY!
These freebies are great for all of you Project Lifer's and Scrapbookers.  I placed mine on a photo my son took on a board headed into Chicago.  If I were scrapbooking this photo, I would cut this out with the Silhouette and pop it up with pop dots.


As if a freebie isn't enough, Lori has given you a coupon to....wait for it...... 30% off her entire online store!!  I mean, seriously, does it get much better than this?!!!


Ok, now it's time for us to part ways.  Thanks for stopping by and don't forget to collect a freebie at each and every stop along the blog up!

Lorrie Nunemaker (you are here)
view sourceprint? 01 09 10