Tuesday, February 4, 2014

Happy Valentines Day Gift with Imaginisce


My project (above) is featured on the Imaginisce blog today!  I am so excited about this new line of papers by Imaginisce called "My Baby".  They are not only great for baby girls, but perfect for Valentines!  Check out my post over at the Imaginisce Blog for more photos and details on this fun gift idea!

Tuesday, January 28, 2014

Round and Round week at Epiphany Crafts

It's ROUND and ROUND week at Epiphany Crafts and I LOVE the Shape Studio Round 25 and Round 14 Tools, Epoxies and Charms, so this was the perfect assignment for me!
Personalized Keychains anyone?
Epiphany-Round-and-Round
Originally I planned to make these for stocking stuffers, but never quite "got there".  Turns out it was a perfect way to show off those Round 25 and Round 14 super cute charms!

Here's everything you need to make your own wine cork keychains
Supplies
Epiphany Crafts Shape Studio Round 25 and Round 14 Tool, Epoxies and Charms
Wine Cork
Large Split Ring
2 Small Split Rings
Eye Hook (Found in hardware )
Eye Pin (Found in Jewelry)
E6000 glue
Beads of choice
Paper (for charms) of choice

1.  Dip screw end of eye hook into the E6000 glue and screw in large end of cork.
2
2.  Thread beads onto eye pin.  Cut eye pin in half, dip into E6000 and insert into opposite end of cork
3
3.  Insert Eye pin into opposite end of cork.
4
4.  Attach large jump ring to eye hook
5
5.  Using the Epiphany Crafts Round 25 and Round 14 Shape Studio Tools, epoxies and charms make two charms
6
6.  Attach charms to beaded pin with split ring(s)
7

Have fun personalizing your own key chains!  Wouldn't this be a fun Girls Night Out Gift?
Epiphany-Round-and-Round
My very favorite Epiphany Crafts tool is the Shape Studio Round 25 - if you haven't gotten one yet... you really NEED to!  ;)
Lorrie Nunemaker
LorriesStory.com


Sunday, January 26, 2014

Silhouette Valentine

I've been snowed in all weekend!  Seriously... is this winter ever going to end?  On the good side... I've had lots and lots of time to play.  I have fallen in love with my Silhouette all over again.  I never fell out of love with it, but this weekend I spent some time doing different things with it.  I really loved using the Sketch Pens.  I'll do a post on that soon!  It's a way cool feature.  If you haven't tried it out, you must!.

This is a shape I bought from the Silhouette store and made into a shaped card.  Isn't she adorable?  I really just cut it out according to the photo and pieced it together using foam dots.

Saturday, January 25, 2014

Valentines Ikea Heart Frame

I just played a little yesterday.  My friend, Kathryn, sent me this cute red heart frame from Ikea.  I wanted to make a little Valentine Decor' with it.  I made this using the Silhouette Software.  I thought it turned out kinda cute!

Sunday, January 19, 2014

Hello again!
Today I made this card using a Life Template by Lori Whitlock.  Remember you can always use the templates even if you're not a project lifer.  I simply brought the 12 x 12 template into Photoshop, resized it to 5 x 5, added the fun papers from Lori Whitlock - Maggie Collection and added a few elements from the same collection.  I then saved all the components as a .jpg and opened them in Silhouette software where I traced and cut them all out.

Lori Whitlock Product used:

Lori Whitlock Life Templates

Lori Whitlock Maggie Collection

Tuesday, January 14, 2014

Imaginisce Perfect Vacation - New CHA 2014 Release - Part 2


I literally flipped over yesterday's layout and made this one right on the back.  The base page is Double - sided, so why not!?!?!  This is my other beautiful girl, Brinkley.  This layout also features the new release by Imaginisce called "Perfect Vacation".

Products Featured in this layout:

Imaginisce:
  Perfect Vacation 12 x 12 double sided papers
  Perfect Vacation Die Cut Tags
  Perfect Vacation Adhesive Gems

American Crafts
  Cardstock Red & White
  Adhesive Runner

Die Cuts
  Silhouette Cameo
  Fiskars snowflake punch
  Martha Stewart snowflake punch

Wood "Today" - Studio Calico

Monday, January 13, 2014

Lori Whitlock Blog Hop!!


Welcome to the Lori Whitlock Blog Hop. 

Hi there and welcome to another Lori Whitlock Blog Hop!  In case you got lost or want to start at the beginning, I've included the entire list of the blog hop below along with a coupon for 30% off of Lori Whitlock products!

For this layout I used a kit designed by Lori Whitlock for Echo Park.  It's called "For the Record 2 Documented".  I knew it would be perfect for my Hello 2014 layout.  You will LOVE LOVE LOVE the bright happy colors in this kit.
        http://www.jessicasprague.com/index.php?page=shop.product_details&flypage=flypage.pbv.tabs.tpl&product_id=2714&category_id=78&option=com_virtuemart&Itemid=328


Here is the entire list of the blog hop.  Make sure you stop by each one to see the amazing Lori Whitlock creations!!

Lorrie Nunemaker (you are here)

Thanks for playing along and don't forget to grab your coupon code!


Sunday, January 12, 2014

Epiphany Crafts Hexagon Valentine Freebies

http://www.4shared.com/office/6Fj1JnCyba/LN_Hexagon__Circle_Valentines.html


I made some fun Valentines Freebies that go perfectly with the Epiphany Crafts Shape Studio Hexagon Tool and Round 25 Tool, Epoxies and Charms.   to get your copy just click on the image above!

Imaginisce - Perfect Vacation Collection - New CHA Winter 2014 Release

Can I just say.... I am so beyond excited to be a part of the Imaginisce Design Team for 2014!   When I received the box of goodies to create with, I went beyond "beyond excited" and I swear I jumped up and down! 

This collection is called Perfect Vacation.  Yes, it's designed for those summer vacations and family fun time... however, I am here in Indiana and it's been record cold and I am no where near vacation time, so I used this collection to scrap some "snow" photos of my dog, Katie!  Remember, just because a collection is titled Vacation... doesn't mean it won't work perfectly in other areas!   Don't be afraid to try them with another theme.

Products Featured in this layout:

Imaginisce:
  Perfect Vacation 12 x 12 double sided papers
  Perfect Vacation Die Cut Tags
  Perfect Vacation Adhesive Gems

American Crafts
  Cardstock Red & White
  Adhesive Runner

Die Cuts
  Silhouette Cameo

Epiphany Crafts
  Shape Studio Hexagon Punch and Epoxy


Tuesday, January 7, 2014

Epiphany Crafts Meets Chic Tags - WoWZA!!!!!

This week Epiphany Crafts is teaming up with Chic Tags to Debut how beautifully every the two products go together.  Chic Tags Happy Place collection is AMAZING!  I just loved everything about it.  Check out Epiphany Crafts blog for more details on each my projects. 

I just love the Ephiphany Crafts Round 14 Button Tool.  It's so simple to make buttons to match every project.

This is a fun alterned jr. legal pad.  I used two magnets to make the closure, which I hid under the Epiphany Crafts Round 25 Epoxy Sticker on the flap.

This layout just screamed for the Epiphany Crafts Shape Studio Hexagon Tool.  I used five different Hexagons on this layout.  I felt like it really went with the Western Theme.  I also utilized the Epiphany Crafts Shape Studio Round 14 tool.


One more project.  I absolutely loved Chic Tags Happy Place Collection and I used almost every single piece they sent.  I made this last card with the few scraps I had left.

This is literally made out of scraps.  That is all I have left of the papers featured on this card.   You will love the Chic Tags Happy Place collection!  I think I'm going to have to order some more!!

Monday, December 23, 2013

Another Quick and Easy Christmas Gift

These candles are so super simple to make!  I made all of these in a little less than 20 minutes.  They are so super simple and Lori Whitlock's Echo Park Christmas Reflections kit is just perfect!  Check out my tutorial here.

They look so cute all wrapped up and make a perfect gift for a co-worker, friend or neighbor, or just make a bunch and enjoy a candlelit Christmas Holiday.
For this candle I used Lori Whitlock's Christmas Subway Art

Sunday, December 22, 2013

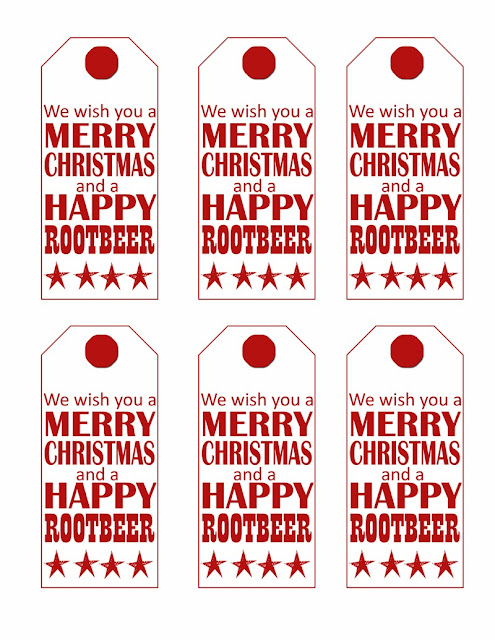
A fun Christmas Gift - Merry Christmas and a Happy Rootbeer

I needed a fun, fast gift for some family friends.. what is better than Rootbeer floats!?!?!  I saw this idea on Pinterest and instantly knew it would be the perfect gift!  Super simple and all you need is a 6 pack of bottled rootbeer, some small ponpoms, googly eyes and pipe cleaners.   I made the tag and If you'd like to go grab them so you can make your own, just click on the photo below

http://www.4shared.com/download/cJD0mO2d/Rootbeer.pdf

Wednesday, December 18, 2013

Day 2 - Epiphany Crafts / Ruby Rock-it!

This project made me giddy!  I just love how it turned out.  I started with a raw wooden frame and raw wooden candlestick.  I Colorshined both of them green, then hot glued them together.  I then simply added lots of fun Christmas goodies and a little Epsom salt for the snow.

The calendar is from the Ruby Rock-it small and large calendar pack.  I used Epiphany Crafts Round 25 bubble caps on the Season's Greetings to make it "pop" just a bit!

Saturday, December 14, 2013

Stocking Stuffers with Epiphany Crafts

Wristlet Key Chains Anyone?  I played a little bit today.  We exchange only Stocking Stuffers on one side of the family and traditionally I make my gifts.  I decided to use my Epiphany Crafts Shape Studio Hexagon and Square tools and charms to personalize each one.

Arent' these fun?   They are so super simple to make. 


Thursday, December 12, 2013

Oh Christmas Tree! Epiphany Crafts Inspired by Pinterest Week

 Over at Epiphany Crafts were are having an "Inspired by Pinterest" week.  Today my project is featured.  I made this fun tree from ..... NEWSPAPER!  Yep that's right, I cut up the Sunday paper and voila... a Christmas tree is born!
 I've seen so many of these trees on Pinterest... some made with squares that were cut with pinking sheers, some were made with circles instead of squares, some made with book paper and some made with regular scrapbook papers.  There are endless possibilities.  What I didn't see was a decorated tree and especially not one with this blinged out star using an Epiphany Crafts Shape Studio Round 25 Rhinestone charm.
 I added a bit of glitter all over the tree.  It really shimmers in the evening light.  I wish you could see it.
These trees are super simple to make.  To see instructions, go to the Epiphany Crafts blog and check out my featured project.

This is of the Pins that inspired me! Looks like the used book paper and pinked the edges.  Love the flower pot base!


Sunday, December 8, 2013

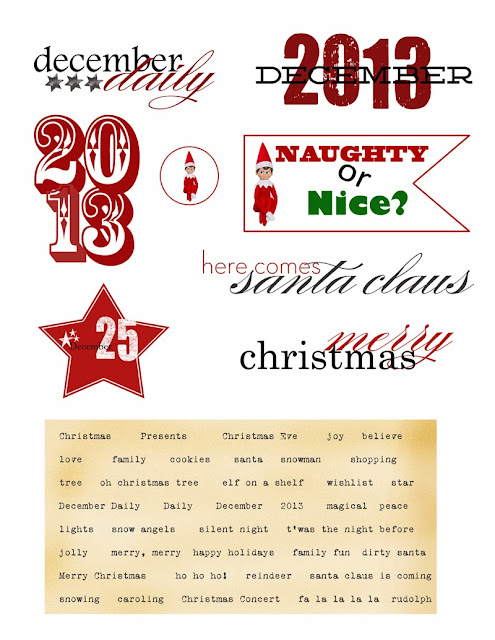
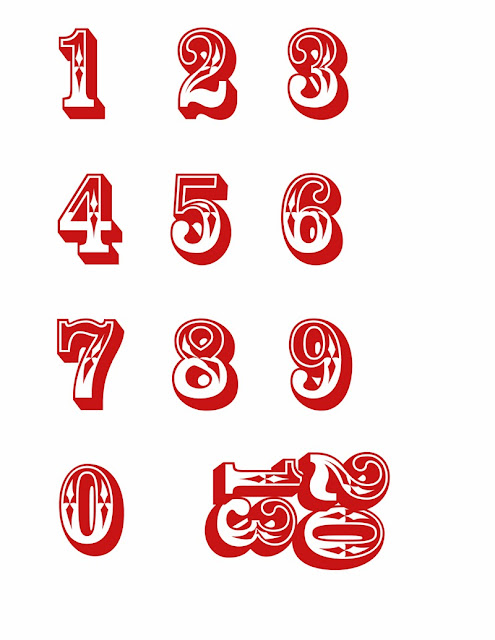
Free Christmas Printables

http://www.4shared.com/download/bt_H0qHo/1Christmas_Printable_LAN.pdf


http://www.4shared.com/download/cJ---Jib/1Countdown_Numbers.pdf

Hello there!  Are you getting ready for the holidays?  I have so many things I want to get started on in my craftroom!  Speaking of which, my December daily is still waiting to be STARTED!  I made these cute printables this morning to get me started.  If you'd like to download them, click on the images above and enjoy!

Friday, December 6, 2013

Oh Christmas Tree!!!


OH Christmas Tree, Oh Christmas Tree... how lovely are thy..... wait what are those?   I have been seeing dozens of Pinterest post for the Close to My Heart Trees using the Close to My Heart Cricut Cartridge or Tim Holtz Rosette Dies.  Problem is, I don't have a Rosette Die, and I am a Silhouette girl, but I do know how to make the Rosettes by hand.  I used Heidi Swapp's Christmas Believe Collection.

Here are the measurements I used:

2 strips each (glued end to end) scored every 1/2" of:

12 x 1/2"
12 x 3/4"
12 x 1"   
12 x 1-1/4
12 x 1-1/2"
12 x 1-3/4
12 x 2
12 x 2 1/4
12 x 2 1/2
12 x 2 3/4"
12 x 3

You should end up with 11 Rosettes if you use my method.   You could add some bling (and make them more like the CTMH trees by using a border punch along one long side of each strip).  Starting with the largest rosette hot glue one on top of the other.    (A little hint I got from the CTMH tutorials, was to glue a small circle in the center to both the top and bottom of each rosette.  This helps hold it together as well as gives you something to glue the stack together.  You can see what I mean here.  I basically used her directions without using the Cricut die cuts and I made changes to the sizes. You could also use Lori Whitlock's rosettes from the Silhouette store to make the same thing.

I punched a few snowflakes from some glitter paper to add some extra bling.

For the base of the tree I simply use a strip of paper glued to form a circle.  I used hot glue to attach it to the base of the tree.

Hope you get out a few Christmas papers and make some cute Rosette trees.  This project only took me about 45 minutes to complete start to finish.  Next time would be much faster, as I was kind of winging it the first time.

Wednesday, December 4, 2013

Holiday Treats with Epiphany Crafts and Heidi Swapp Believe

Hello and welcome back from the Holiday weekend.  Did you eat too much stuffing?  Turkey?  I know we certainly did! 

This week over at Epiphany Crafts our design team challenge was to create Holiday Treats.  This is the quick little project I came up with.    Super simple, super fast and kinda cute... don't ya think?

Don't forget about those Epiphany Crafts charms!  They add so much "wow" to any project.   I simply rolled the paper into the cone shape and inserted an eyelet in the bottom point of the cone.  Then I used two jump rings to attach the charm.  The eyelet just gives it a little added protection from tearing and adds a little support for the charm to hang from.  If you don't have an eyelet, you could also reinforce the bottom with extra paper, washi tape or whatever you have on hand.

This cone was a little more simple.  I added some Heidi Swapp Color Magic letters sprayed with Chartreuse Color Shine and kept the rest pretty simple.  I thought it looked a bit more "boyish".

You could really dress the cones up with layers and layers of embellishments.  I ran out of time, but I plan to make a few more and add lots of vintage goodness to them.


Sunday, December 1, 2013

Join us tomorrow for a Lori Whitlock Blog Hop!

Join us tomorrow (Monday, Dec 2, 2013) for a fun blog hop with Lori Whitlock and her paper and digital design teams.

The blog starts at Lori Whitlock's blog and will continue through the entire team's blogs.  There will be a fantastic coupon offer along the way... don't miss it!
view sourceprint? 01 09 10