Monday, December 23, 2013

Another Quick and Easy Christmas Gift

These candles are so super simple to make!  I made all of these in a little less than 20 minutes.  They are so super simple and Lori Whitlock's Echo Park Christmas Reflections kit is just perfect!  Check out my tutorial here.

They look so cute all wrapped up and make a perfect gift for a co-worker, friend or neighbor, or just make a bunch and enjoy a candlelit Christmas Holiday.
For this candle I used Lori Whitlock's Christmas Subway Art

Sunday, December 22, 2013

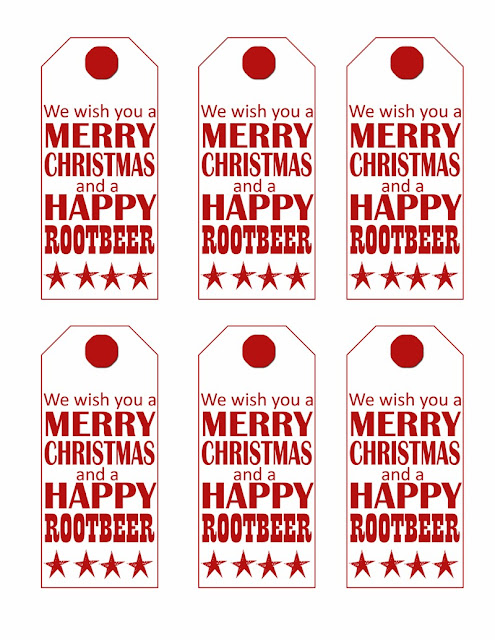
A fun Christmas Gift - Merry Christmas and a Happy Rootbeer

I needed a fun, fast gift for some family friends.. what is better than Rootbeer floats!?!?!  I saw this idea on Pinterest and instantly knew it would be the perfect gift!  Super simple and all you need is a 6 pack of bottled rootbeer, some small ponpoms, googly eyes and pipe cleaners.   I made the tag and If you'd like to go grab them so you can make your own, just click on the photo below

http://www.4shared.com/download/cJD0mO2d/Rootbeer.pdf

Wednesday, December 18, 2013

Day 2 - Epiphany Crafts / Ruby Rock-it!

This project made me giddy!  I just love how it turned out.  I started with a raw wooden frame and raw wooden candlestick.  I Colorshined both of them green, then hot glued them together.  I then simply added lots of fun Christmas goodies and a little Epsom salt for the snow.

The calendar is from the Ruby Rock-it small and large calendar pack.  I used Epiphany Crafts Round 25 bubble caps on the Season's Greetings to make it "pop" just a bit!

Saturday, December 14, 2013

Stocking Stuffers with Epiphany Crafts

Wristlet Key Chains Anyone?  I played a little bit today.  We exchange only Stocking Stuffers on one side of the family and traditionally I make my gifts.  I decided to use my Epiphany Crafts Shape Studio Hexagon and Square tools and charms to personalize each one.

Arent' these fun?   They are so super simple to make. 


Thursday, December 12, 2013

Oh Christmas Tree! Epiphany Crafts Inspired by Pinterest Week

 Over at Epiphany Crafts were are having an "Inspired by Pinterest" week.  Today my project is featured.  I made this fun tree from ..... NEWSPAPER!  Yep that's right, I cut up the Sunday paper and voila... a Christmas tree is born!
 I've seen so many of these trees on Pinterest... some made with squares that were cut with pinking sheers, some were made with circles instead of squares, some made with book paper and some made with regular scrapbook papers.  There are endless possibilities.  What I didn't see was a decorated tree and especially not one with this blinged out star using an Epiphany Crafts Shape Studio Round 25 Rhinestone charm.
 I added a bit of glitter all over the tree.  It really shimmers in the evening light.  I wish you could see it.
These trees are super simple to make.  To see instructions, go to the Epiphany Crafts blog and check out my featured project.

This is of the Pins that inspired me! Looks like the used book paper and pinked the edges.  Love the flower pot base!


Sunday, December 8, 2013

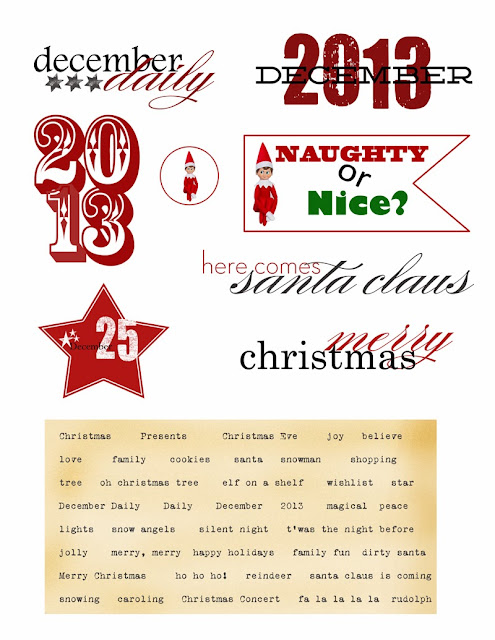
Free Christmas Printables

http://www.4shared.com/download/bt_H0qHo/1Christmas_Printable_LAN.pdf


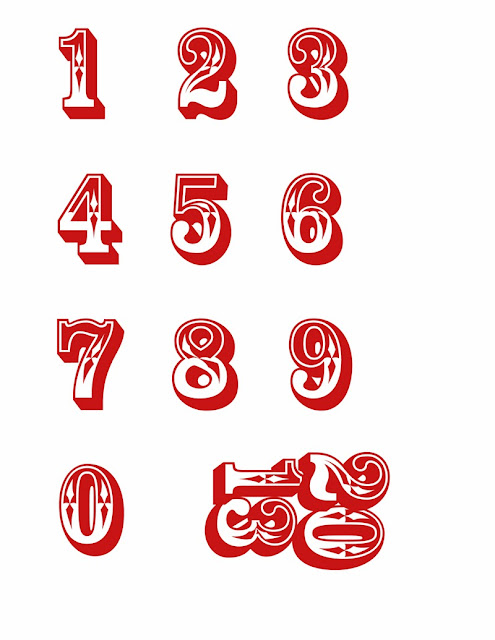
http://www.4shared.com/download/cJ---Jib/1Countdown_Numbers.pdf

Hello there!  Are you getting ready for the holidays?  I have so many things I want to get started on in my craftroom!  Speaking of which, my December daily is still waiting to be STARTED!  I made these cute printables this morning to get me started.  If you'd like to download them, click on the images above and enjoy!

Friday, December 6, 2013

Oh Christmas Tree!!!


OH Christmas Tree, Oh Christmas Tree... how lovely are thy..... wait what are those?   I have been seeing dozens of Pinterest post for the Close to My Heart Trees using the Close to My Heart Cricut Cartridge or Tim Holtz Rosette Dies.  Problem is, I don't have a Rosette Die, and I am a Silhouette girl, but I do know how to make the Rosettes by hand.  I used Heidi Swapp's Christmas Believe Collection.

Here are the measurements I used:

2 strips each (glued end to end) scored every 1/2" of:

12 x 1/2"
12 x 3/4"
12 x 1"   
12 x 1-1/4
12 x 1-1/2"
12 x 1-3/4
12 x 2
12 x 2 1/4
12 x 2 1/2
12 x 2 3/4"
12 x 3

You should end up with 11 Rosettes if you use my method.   You could add some bling (and make them more like the CTMH trees by using a border punch along one long side of each strip).  Starting with the largest rosette hot glue one on top of the other.    (A little hint I got from the CTMH tutorials, was to glue a small circle in the center to both the top and bottom of each rosette.  This helps hold it together as well as gives you something to glue the stack together.  You can see what I mean here.  I basically used her directions without using the Cricut die cuts and I made changes to the sizes. You could also use Lori Whitlock's rosettes from the Silhouette store to make the same thing.

I punched a few snowflakes from some glitter paper to add some extra bling.

For the base of the tree I simply use a strip of paper glued to form a circle.  I used hot glue to attach it to the base of the tree.

Hope you get out a few Christmas papers and make some cute Rosette trees.  This project only took me about 45 minutes to complete start to finish.  Next time would be much faster, as I was kind of winging it the first time.

Wednesday, December 4, 2013

Holiday Treats with Epiphany Crafts and Heidi Swapp Believe

Hello and welcome back from the Holiday weekend.  Did you eat too much stuffing?  Turkey?  I know we certainly did! 

This week over at Epiphany Crafts our design team challenge was to create Holiday Treats.  This is the quick little project I came up with.    Super simple, super fast and kinda cute... don't ya think?

Don't forget about those Epiphany Crafts charms!  They add so much "wow" to any project.   I simply rolled the paper into the cone shape and inserted an eyelet in the bottom point of the cone.  Then I used two jump rings to attach the charm.  The eyelet just gives it a little added protection from tearing and adds a little support for the charm to hang from.  If you don't have an eyelet, you could also reinforce the bottom with extra paper, washi tape or whatever you have on hand.

This cone was a little more simple.  I added some Heidi Swapp Color Magic letters sprayed with Chartreuse Color Shine and kept the rest pretty simple.  I thought it looked a bit more "boyish".

You could really dress the cones up with layers and layers of embellishments.  I ran out of time, but I plan to make a few more and add lots of vintage goodness to them.


Sunday, December 1, 2013

Join us tomorrow for a Lori Whitlock Blog Hop!

Join us tomorrow (Monday, Dec 2, 2013) for a fun blog hop with Lori Whitlock and her paper and digital design teams.

The blog starts at Lori Whitlock's blog and will continue through the entire team's blogs.  There will be a fantastic coupon offer along the way... don't miss it!

Friday, November 22, 2013

Lori Whitlock - December Daily Kit and a Countdown Christmas


I had so much fun creating this Christmas Countdown using Lori Whitlock's newest December Daily kit available at Jessica Sprague.  I made the templates  to fit the boxes in photoshop, then used them as clipping masks and clipped the papers to them, resized accordingly and added a little bling.  I also used Epiphany Crafts Round 25 bottle caps on a few of the drawers.  The Christmas Tree box came from Hannah's Home Accents in Antioch, IL. 

Friday, November 15, 2013

Lori Whitlock - New Releases this week at Jessica Sprague.com


Hi there!  It's Friday and that means another new release from Lori Whitlock! 
Look at the adorable templates she's releasing this week.  The card above is just one of her new release in the Christmas Cards Set #4.  When I saw this card, I just knew I wanted to use this fun Christmas photo I took a two years ago of my sweet Golden Retriever.  It's so simple to create a fun, personalized Christmas Card with Lori's Templates.  You can simply just add a photo in Photoshop, or, if you're not a Photoshopper, she also offers the file in png format, that way you can easily use any photo software to simply add your own photo.  The only thing I added to this card was the "with love" text and the poinsettias... (they are from Lori Whitlock's Christmas "Reflections" collection available at Jessica Sprague.

In addition to the fun Christmas Card releases, Lori's got several 2014 calendars ready for you to personalize wit your favorite photos!   I chose this fun 3 photo template to make a handy year calendar for my refigerator.... (you gotta have one for the fridge... right?!?!?!).  Anyway... go check out the fun releases by Lori Whitlock at JessicaSprague.com!!


Tuesday, November 12, 2013

Heidi Swapp / Epiphany Crafts - Insta Christmas Mini Album


Hello!  I am so excited to show this fun and interactive Album I made for my Epiphany Crafts Project Featuring Heidi Swapp.  Yes, that's right.. this is Heidi Swapp week over at Epiphany Crafts!
I made this album to house all those Christmas IPhone photos I plan to take as well as a few favorites from recent Christmases past.


I made this album with a hard back book I bought at the Dollar Store.  I simply removed all of the inside pages and then added an extension on the back flap to make a magnetic closure.  Check out Heidi Swapp's My Craft Channel Tutorial for instructions on the magnetic closure.  I followed the exact same procedure except I used an actual book cover instead of chipboard.


The photo above shows the layers and layers of inside pages.  I used an Epiphany Crafts Round 25 tool, epoxy and charm to make the cute "Joy to the World chain inside.  Heidi's Believe  6 x 6 collection has so many fun pages that fit perfectly with the Round 25 tool


I'll flip though a couple of pages for you.  There are lots of blank pages and places for journaling and future photos.  It will be so easy to just pop the photos in as I get them developed.


That's a good look at most of the pages, if you'd like to see the album in it's entirety, check out my YouTube Video


Thanks for looking!  Have a great day!!!

Sunday, November 10, 2013

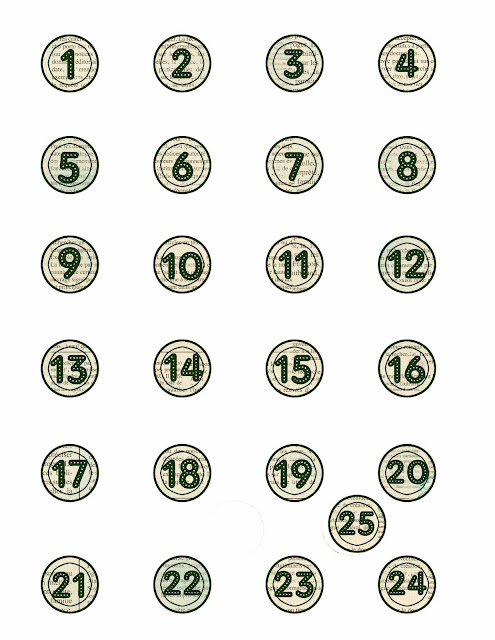
Christmas Countdown Freebies for the Epiphany Crafts Studio Shape Round 25 Tool


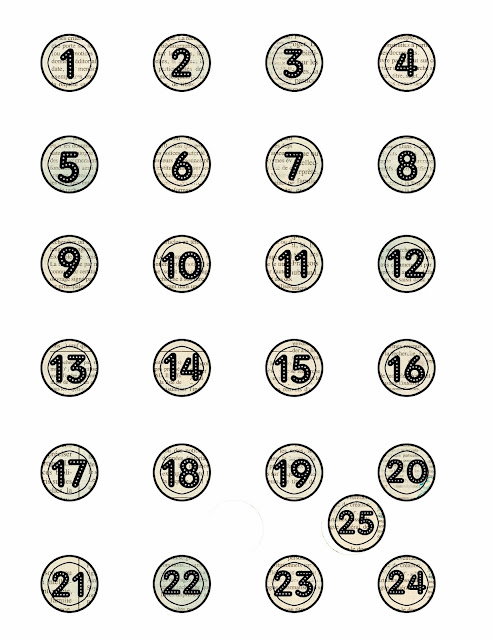
I Created these three sets of Christmas Countdown numbers to fit in the Epiphany Crafts Shape Studio Round 25 Tool.   I made Red, Green and Black, so you can match all of your Christmas Projects.  Just Click on the photo to download the color you want.

http://www.4shared.com/office/KrL9bsxJ/GREENCountdown.html

http://www.4shared.com/office/tP9AiKof/BLACKCountdown.html

Friday, November 8, 2013

Fall Fun with Epiphany Crafts


It's Fall Fun Week over at Epiphany Crafts.  For my Fall Project I made an 8-1/2 x 11 layout using the Epiphany Crafts Shape Studio Square 25 tool and some fun patterned papers.

I love how the die cut leaves turned out.  I used my Silhouette Cameo to cut our various leaves which I inked with Tim Holtz distress inks.  


The Epiphany Crafts Shape Studio Square 25 Tool adds just a little something extra to the layout.  I really like how all of the patterns, colors are different, but blend very well with the fall theme.

By the way... the gang in the photo are my Son, Daugther and Son-in-Law and his siblings.  They did a photoshoot for his mom and I last year for Christmas.  I thought this was such a cute photo.

Monday, November 4, 2013

Lori Whitlock Blog Hop


Welcome!  I'm so glad you're playing along on Lori Whitlock's blog hop.  You should have arrived here from Mary Moseley.   If you didn't or in case you got lost along the way, I have the entire list at the bottom of the post.  Make sure and check out all the fun Christmas Cards created with Lori Whitlock's products. 
Hi there!  I was so excited to hear about this Blog Hop!  What a fun way to get to know everyone and see a brief taste of Lori Whitlock's designs!   I made a variety of cards.  The first card is a 4 x 8 printable photo card.  It was super simple to make using Lori Whitlock's Echo Park Reflections Collection.   It is a huge collection and full of papers and ephemera.  A must have for the holidays!

Next up, some fun hybrid cards.


I made these cards using Lori Whitlock Christmas Day and Christmas Eve Collections  These two collections are especially fun for the younger ones in your life.  It's packed full of cute penguins, Santa, Christmas Trees, etc.  So super fun!For this card 
For this card I used my Silhouette and Lori Whitlock's Bracket Easel Card from the Silhouette Store Item #46299 and the Chritmas Day Collection  I added a little glitter to Santa's coat and hat for a little extra bling.

This card (center) was made with the Christmas Eve Collection and Lori Whitlock's Silhouette Card Chevron Shape  (Item #44887).  I added a little bit of glitter to the rim of the Penguin's hat and a bit of inking on the edges.

The last card is also the Christmas Day Collection as well as Lori's Silhouette "5 Label Shapes" for the Happy Holidays flag.

Now for the fun part.... Lori Whitlock is having TWO giveaways!   When you enter to win, please specify which you'd like to win. 


Enter to win here!!


As if that wasn't enough... here's a coupon code for 30% off your entire purchase at Lori Whitlock's store

Next up.......


You're almost done... hop on over to Lisa Bell's Blog and check out her Christmas Cards.

In case you want to go back to the beginning or catch any you may have missed, here's the entire list:


Thanks for playing along!   See you soon!!!
view sourceprint? 01 09 10