Sunday, March 20, 2016

Flip Books - What are they, How Do I Make one and What Should I include?

Hello everyone!  Thanks for stopping by. 

As you may know, I've been on a flip book craze for a little while now.  I have had so many questions about flip books so I thought I would make a flip books for beginners video/tutorial for you.

Before we get to the video... this is a flip book.  It is a pen pal crafty way to get to know other crafty friends.

 You create the book from scratch.  This is just a basic book, but there is no end to the style of book you can create.

Each book is filled with fun little crafty goodies the recipient can admire or take out and use.  It's often recommended that you include a note about yourself and maybe some fun facts about your life.

 We have lots of fun Flip Book Swaps, as well as pocket letter swaps, card and tag swaps, etc. in our Facebook group called Swap It!  Come join us!  We organize all the swaps and partners and it's really a lot of fun getting to know the group. 

Now... Here's the tutorial


Thanks for stopping by!

Saturday, March 19, 2016

Pink and Aqua Theme Pocket Letter

It's been awhile since I made pocket letters, but I had a swap going to in my Facebook Group called "SWAP IT!".  So, I whipped one up.  Theme was Aqua and Pink.  Most every pocket contains items made using Print then Cut on my Cricut Explore. 

Saturday, March 12, 2016

Happy Easter with Oak Tree Stamps and Tim Holtz Stamp Sets

 Hippity, Hoppity Easter's on It's Way.... even if you're a dog.... with Bunny Ears! :)
I loved making this card.  I used the OakTree Stamps Puppy Love Stamp Set paired with the Tim Holtz Crazy Birds Accessory Set (for the Bunny Ears) to make this adorable, though somewhat annoyed puppy bunny! :)

Wednesday, March 9, 2016

Happy Planner Printables - FREEBIE

Well hello there!  Happy Tuesday!  What a week it's been! 
I have been working here and there on this little mini collection for the Happy Planner.  I bought the clipart, but designed all of the papers myself.  I am so proud of how it turned out.  I thought I would share this little collection for a limited time as a way of saying thank you for visiting my blog.  Get it free while you can!  I sized the file to 8.5 x 6, so if you're using a Cricut Explore you'll need to adjust the size in Design Space.  Click on the photo to download the printable.  Oh.. and I also made you some matching headers :)  Enjoy.


https://www.dropbox.com/s/ka9923iwd6yzun9/Vintage%20Floral%20Happy%20Planner.png?dl=0 
Both files are 8.5 x 6
https://www.dropbox.com/s/w10d06fpn8nnwln/Vintage%20Floral%20Headers.png?dl=0

Tuesday, March 8, 2016

OAK Tree Stamps - On The Line Planner Set for Both Erin Condren and Happy Planner

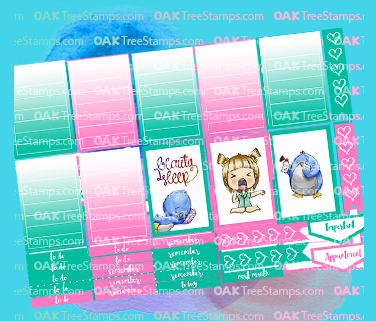
 Hello and Happy Tuesday!  Today I am so excited to share a fun planner set I created for Oak Tree Stamps using the "On The Line" sticker set created by Omar.  I created two sets.  One sized for the Erin Condren Planner and another for the Happy Planner.

This is the Happy Planner Set.  It consist of two pages


And the Erin Condren Set is a single sheet as shown below:


I just love how this turned out!
 I also used several other Oak Tree Stamp sticker sets such as the Laundry Today and Winter Bliss Sets
 Head on over and pick up your planner set!  They make planning so much fun!!


Tuesday, February 9, 2016

Planner Stickers - Free (to fit the Happy Planner)


I have been playing!  I have been creating Digital Stickers for my Happy Planner.  Funny part is, I make stickers and play with the planner and then I forget to actually "Plan".  Ask the admin team at Pocket Letter Swaps, inspiration and ideas on Facebook!  LOL   Anyway... I created this sticker set and decided to share it with you.  I should mention, the amazing artwork is by a young talented artist who goes by the name Handmek.  You can find him on Etsy. 

Free For a limited time only,
You can download the papers here and the stickers here.

This is my first complete set, and I know somethings need to be tweaked, but I'm really excited about how they turned out.   Note to Cricut Users:  You need to size each set to 8.5 w x 6' high and use either Firefox, Safari or Explorer to get the largest printable area.    

Enjoy!  

Saturday, February 6, 2016

New Digital Stickers to Fit the Happy Planner by Oaktree Stamps!

I am so stinkin' excited to announce I've been working behind the scenes with Omar Toro and Ken Hess to create a line of Stickers for the Happy Planner using Oaktree Stamps images which are hand drawn and colored by Omar Toro.

  Find out how to upload and create stickers with your Cricut Explore in this tutorial:


You can purchase the stickers here. 
http://oaktreestamps.com/products/planner-stickers-for-the-happy-planner

http://oaktreestamps.com/products/planner-stickers-for-the-happy-planner


Tuesday, February 2, 2016

Oak Tree Stamps - Digital Sticker Paper Sets!! Oh My!

Hello there!  I am excited to share this card today.  I am IN LOVE with the new digital sticker paper sets Oak Tree Stamps have been releasing lately!  I mean they are amazing!  Omar Toro is the designer who hand draws and hand colors these fabulous digital designs.  Check out the penguin!  Isn't the detail in coloring amazing!?!!   You can get this set now at http://OakTreeStamps.com. It's called PS I Love you.  They have several other sets and digital papers to match.   Here's a quick video showing you how I used the PS I Love You set and my Cricut Explore to create this fun Valentine/Love Card.

Thanks for stopping by!  Stay tuned for more exciting previews of Oak Tree releases.

Thursday, January 21, 2016

Happy Planner Dimensions

I am getting into my Happy Planner.  I don't have a lot to document, but I love making cute little stickers to make it pretty.  I made a cheat sheet for the Happy Planner dimensions.  I have several different planners and it's just easier to have a quick reference for sizes.


Sunday, January 17, 2016

Foiled Planner Stickers with Cricut Explore and the Minc

 I have been playing with planners.  I know... I am not a planner girl.  I don't have many appointments, my kids are grown and living on their own, so why do I need a planner?  Well, let me try to explain.
 Every since I was a little girl, I have always had a paper/pen obsession.  Office supplies have always made me giddy.  Every January, I buy a planner and every 3rd or 4th week, or so, in January, I put it someplace and never touch it again.  I've done it for years.  This year, I decided to take the Heidi Swapp Capture 30 class, because, I have all of her planners from last year and two from this year and again, I haven't used them.  Capture30 is really about capturing little glimpses of your daily life.  Not appointment planning, or to do list, though you can totally incorporate that, too, if you like.  It's about documenting your dreams, goals, hopes, memories, little things that make each day unique.  On top of that, you document it into a cute Heidi Swapp planner. 
Next up, I decided to take one of my 3 other 2016 planners and start using it in a similar, but playful way.  No pressure to schedule things, no pressure to mess it up.  I write with markers and pens and add pretty papers and just have fun with it.  I'm using a Happy Planner for my "fun" planning/journaling.  Turns out... I am a planner girl! 

I created these fun Gold Foiled Stickers using my Cricut Explore and the Minc.  I made a short tutorial, so you can make your own.  Enjoy!

Tuesday, December 22, 2015

How to Restick your Die Cutting Mats

Hello everyone!  It’s Lorrie here, and I don’t know about you, but if you use a die cut machine, whether it’s a Silhouette Cameo, Cricut Explore, Sizzix Eclips or any of the other die cut machines out there, nothing is more frustrating that a mat that has lost it’s stickiness.  I’m going to show you how easy it is to get those mats back in tip top shape and prolong the life of your mats.
Resticky1
First you want to wash the mat with dish soap and water in the sink.   Sometimes if my mat is really, really dirty, I will use goo gone and then dish soap, but a good washing with dish soap and a sponge is generally all you need.


Next you want to hang your mat , or lay it somewhere flat, to dry.  Make sure it is completely dry before moving on to the next step.

For the next step you want to protect your work surface with newspaper, or even work outside.  Using painter’s tape, masking tape or any kind of removable tape, carefully tape off the edges of the mat just outside the grid lines.  This prevent adhesive getting on the mat where the rollers hit the mat in your machine.

Resticky2


 Now, meet your mat’s new best friend:

Spray N Bond Basting Adhesive.  You can find it at your Local Walmart, Joann's, Hobby Lobby, Michaels.  It's in the Fabric or sewing section.


Screen Shot 2014-07-31 at 7.36.47 AM

 Resticky3

Holding the can 6-8″ above your mat, keep your arm moving and spray an even coat over the mat.  The more you spray, the more sticky it will be.  I prefer a light coat when using the mats for paper.  You can always apply another layer if it isn’t sticky enough for you.


resticky4

Simply remove the painter’s tape and you’re done.  The mat will be ready to use immediately.
Resticky5

Sunday, December 20, 2015

Cricut Cheat Sheets

I have created several Cricut Cheat Sheets designed to serve as a quick reference for everyday tasks in Design Space.

Cricut Cheat Sheets
You can download all of the cheat sheets separately, or all in a single download here 


Introducing Cricut Education

Hello everyone!  I wanted to take a minute and let you know, that I've consolidated a lot of my Cricut Education videos, cheat sheets, and related tutorials to one blog.    You can find it here http://Cricuted.blogspot.com   Please take a minute to look around.  I will be regularly updating the blog.  Don't worry, my Content will still be listed here as well.

Sunday, December 13, 2015

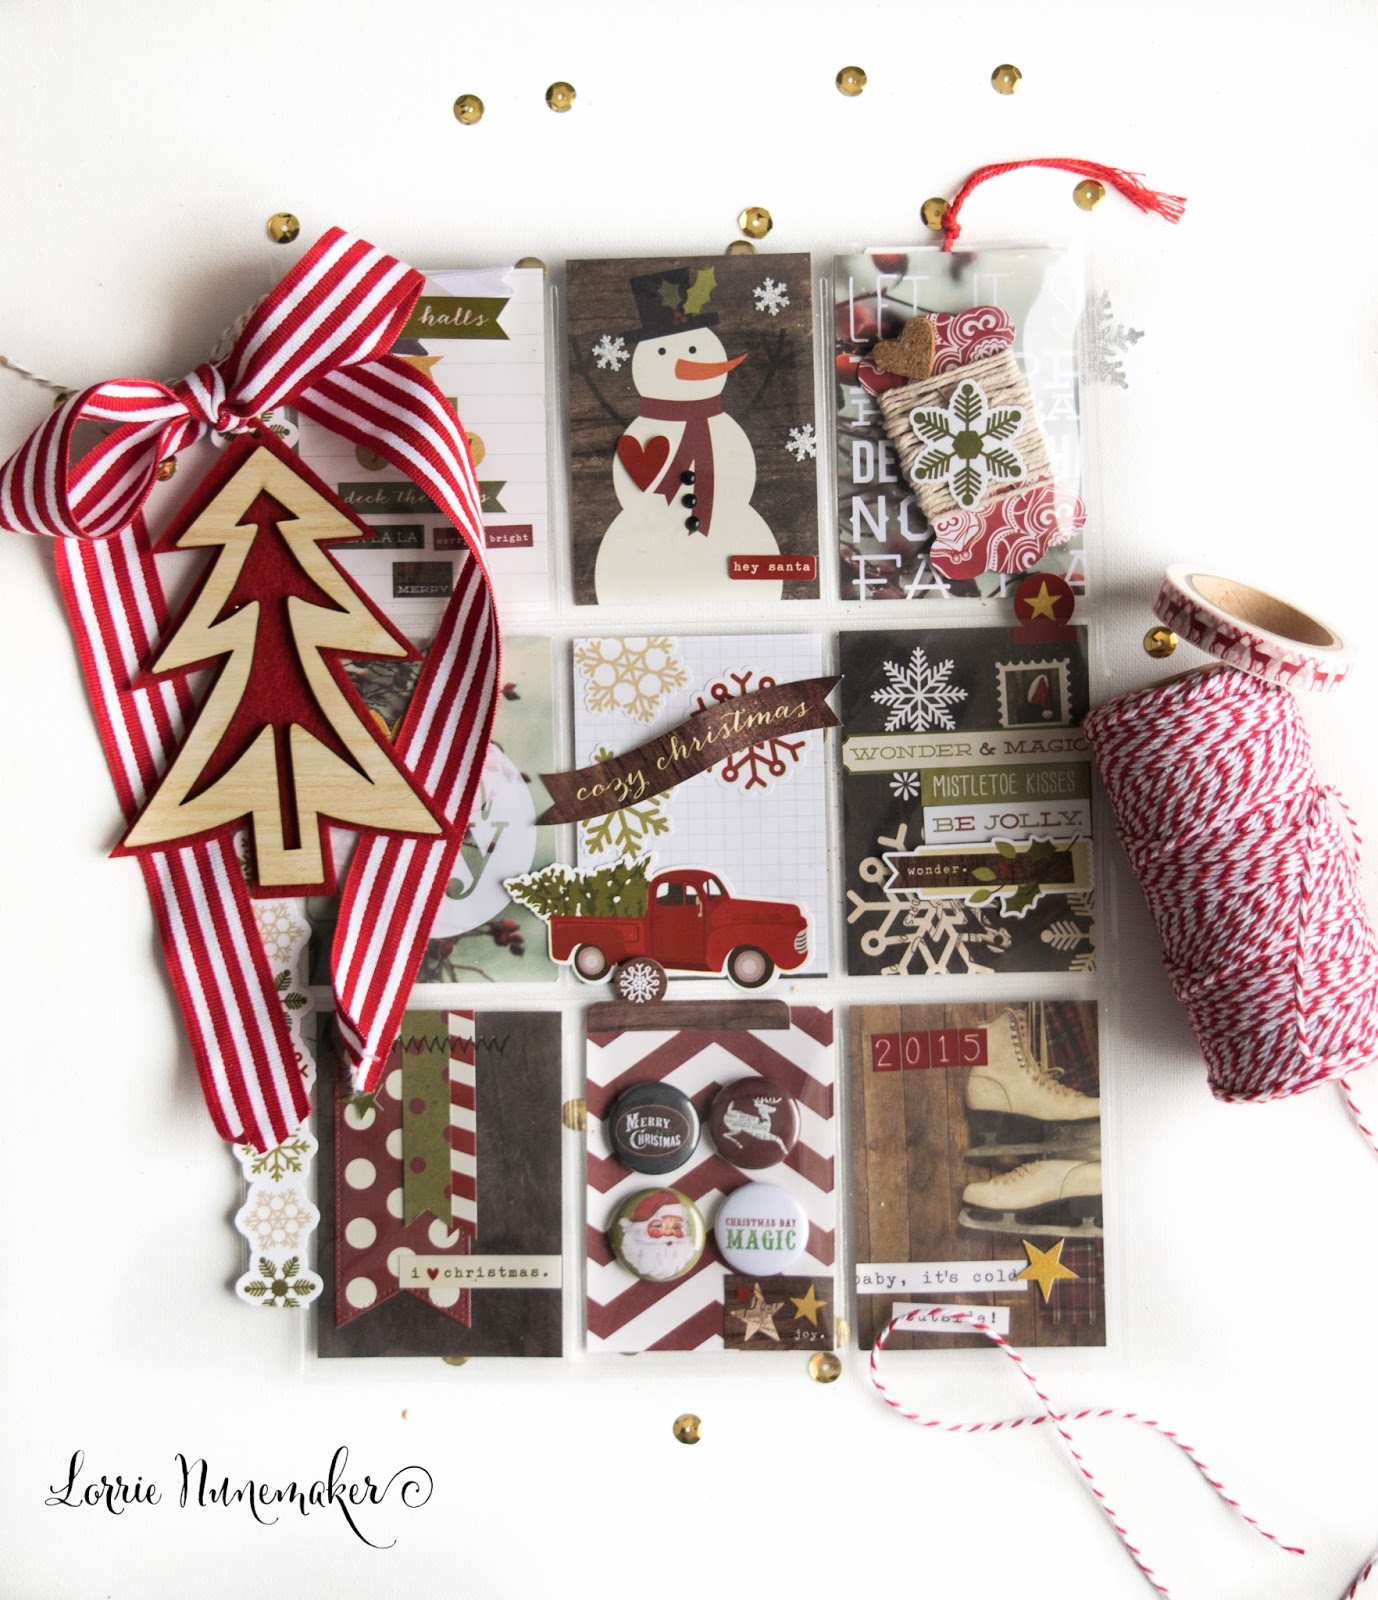
Christmas Pocket Letters

I have been making Christmas Pocket Letters. 

 I have been making A LOT of Christmas Pocket Letters.....

 I may have gone overboard making Christmas Pocket Letters.....

 But once you have all those yummy Christmas papers and embellishments out and spread around your craftroom.....

 It's hard to stop.

 So, I didn't stop.  I kept making Christmas Pocket Letters....

 and then I said... that's it.  I'm finished making Christmas Pocket Letters.....

 and then this happened.....

 and this....


 and, this.....


and... I think... NOW, I'm done making Christmas Pocket Letters

 Here's a video in case you'd like to see a close up of some of these


view sourceprint? 01 09 10